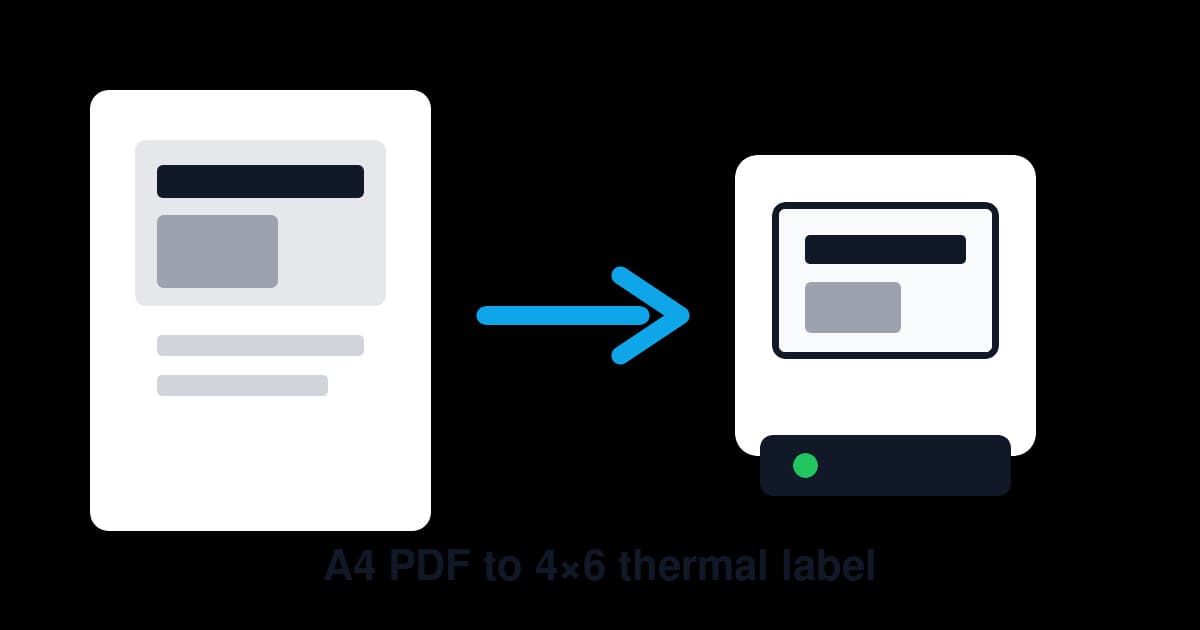
If you sell online in Australia, you've probably hit this wall: you download a shipping label from Australia Post or MyPost Business, and it's a full A4 PDF with a tiny 4×6 label floating in the middle. Your thermal printer can't make sense of it. You try scaling, cropping, adjusting margins — and half an hour later you're still stuck.
You're not alone. This is one of the most common frustrations for Australian eCommerce sellers using thermal label printers. The good news? There are several ways to solve it, from free manual workarounds to fully automated solutions.
This guide walks through every method, from simplest to most efficient.
In this article:
- Why A4 shipping labels don't print on 4×6 printers
- Method 1: Crop in Adobe Acrobat Reader
- Method 2: Use Chrome's built-in print
- Method 3: Screenshot and crop
- Method 4: Use a PDF cropping tool
- Method 5: Set up a custom page size in Windows
- Method 6: Use a watch folder approach
- Which method should you use?
- Quick troubleshooting tips
- Setting up your thermal printer for 4×6 labels
Why A4 Shipping Labels Don't Print on 4×6 Printers
Most Australian carriers — including Australia Post's MyPost Business — generate shipping labels as A4 PDFs. That's fine if you're printing on a standard office printer and slapping the label on with packing tape.
The same sizing problem shows up outside Australia too. UK sellers working with Click & Drop can use the Royal Mail label printer setup guide for the 6x4 settings and scaling checks specific to that workflow. US sellers can use the USPS label printer setup guide for the same PDF-size checks in a 4x6 workflow.
But if you've invested in a thermal label printer (Dymo, Zebra, Brother, or similar), those printers expect a 4×6 inch (100×150mm) image. When you send an A4 PDF to a thermal printer, one of three things happens:
If your labels come from MyPost Business, this more specific guide on cropping MyPost Business A4 labels to 4x6 is worth reading after this overview.
- The label prints tiny — the printer shrinks the entire A4 page to fit the 4×6 label, making the barcode unscannable.
- Only a corner prints — the printer crops from the top-left, cutting off most of the label.
- Nothing prints at all — the printer driver can't handle the page size mismatch and throws an error.
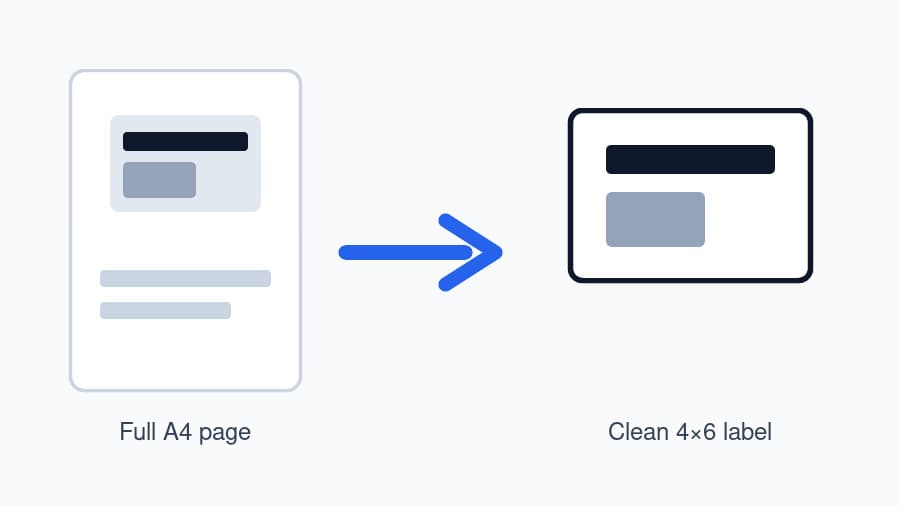
The core problem is simple: the label is the right size, but the PDF page isn't. You need to extract just the label area from that A4 page.
Method 1: Crop in Adobe Acrobat Reader (Free)
Adobe Acrobat Reader is the most common PDF viewer, and it has a built-in print dialog that can help — sort of.
Steps
- Open your A4 shipping label PDF in Adobe Acrobat Reader.
- Go to File → Print (or press
Ctrl + P). - Under Page Sizing & Handling, select Actual size (not "Fit" or "Shrink oversized pages").
- Click Properties next to your printer name.
- Set the paper size to 4×6 inch or 100×150mm (the exact name varies by printer driver).
- Back in the print dialog, check "Choose paper source by PDF page size" if available.
- Click Print.
The Catch
This works sometimes, but it's unreliable. Acrobat often still sends the full A4 page to the printer, and the driver has to figure out what to crop. Depending on your printer and driver version, you might get a properly cropped label, a blank label, or a zoomed-in mess.
If the label isn't centred on the A4 page (and MyPost Business labels often aren't), the crop will be off.
Verdict: Free, but inconsistent. Worth trying, but don't count on it.
Method 2: Use Chrome's Built-in Print (Free)
Google Chrome's print dialog gives you a bit more control than Acrobat.
Steps
- Open the label PDF in Google Chrome (drag the file into a Chrome tab).
- Press
Ctrl + Pto open the print dialog. - Set Destination to your thermal printer.
- Under More settings, set:
- Paper size: 4×6 or 100×150mm
- Scale: Custom, then adjust until the label fills the preview (usually somewhere between 95-105%).
- Margins: None
- Check the preview — the label should fill most of the 4×6 area.
- Click Print.
The Catch
Chrome's scaling is manual. You'll need to eyeball it each time, and if the label position varies between PDFs (it often does), you'll be fiddling with the scale percentage for every single label.
For one or two labels a week, this is manageable. For 20+ labels a day, it's a time sink.
Verdict: Better than Acrobat, but still manual and slow for high volume.
Method 3: Screenshot and Crop (Free, Tedious)
This is the brute-force method, and surprisingly common among sellers who've given up on the print dialog.
Steps
- Open the label PDF and zoom in until the 4×6 label fills your screen.
- Take a screenshot (
Win + Shift + Son Windows,Cmd + Shift + 4on Mac). - Open the screenshot in an image editor (Paint, Preview, etc.).
- Crop to just the label area.
- Print the cropped image to your thermal printer.
The Catch
You lose print quality. Screenshots are 72–96 DPI, while thermal printers work best at 203 DPI or higher. Barcodes might still scan, but they'll look rough, and you risk delivery issues if a scanner can't read them.
Also, doing this for every label is genuinely painful.
Verdict: Works in a pinch, but terrible for regular use. Barcode quality is a real concern.
Method 4: Use a PDF Cropping Tool (Free or Paid)
Dedicated PDF tools can crop the page to just the label area before you print.
Options
- PDF-XChange Editor (free tier) — lets you set custom page dimensions and crop visually.
- Briss (free, open source) — designed specifically for cropping PDFs. You drag a selection box over the label area.
- Adobe Acrobat Pro ($23/month) — has a proper crop tool under Edit PDF → Crop Pages.
Steps (using Briss)
- Download Briss (requires Java).
- Open your A4 label PDF.
- Briss shows a preview with a blue selection rectangle. Drag it to cover just the label.
- Click Action → Crop to generate a new PDF.
- Print the cropped PDF to your thermal printer.
The Catch
Every PDF needs to be manually cropped. If you're processing multiple labels, you'll open, crop, and print each one individually. Some tools support batch processing, but the setup is fiddly.
Verdict: Good quality output, but manual effort scales linearly with label volume.
Method 5: Set Up a Custom Page Size in Windows
Some sellers get good results by creating a custom paper size in Windows that matches the label area's position on the A4 page.
Steps
- Open Printers & Scanners in Windows Settings.
- Click your thermal printer → Manage → Printing Preferences.
- Look for Paper/Quality or Advanced settings.
- Create a custom paper size: 100mm × 150mm (4×6 inches).
- Set this as the default paper size for your thermal printer.
- When printing label PDFs, select this printer and paper size.
The Catch
This only sets the output size — it doesn't actually crop the PDF. You'll still need the print dialog to handle the scaling correctly, which brings you back to the same inconsistencies from Methods 1 and 2.
Verdict: Good to set up regardless (your thermal printer should have the right paper size configured), but it doesn't solve the cropping problem on its own.
Method 6: Use a Watch Folder Approach (Semi-Automated)
Here's where things get more efficient. A "watch folder" setup monitors a folder on your computer — when a new PDF appears, it automatically processes and prints it.
For a deeper setup walkthrough, see the guide to automatic label printing with a watch folder.
How It Works
- You designate a folder (e.g., your Downloads folder or a specific "Labels" folder).
- Software watches that folder for new PDF files.
- When a PDF arrives, the software automatically:
- Detects the label area on the A4 page
- Crops it to 4×6
- Sends it to your thermal printer
- The label prints within seconds, no clicks required.
The Workflow
Once set up, your process becomes:
- Generate label in MyPost Business (or any carrier).
- Download the PDF (it goes to your watched folder).
- Label prints automatically.
That's it. No opening files, no print dialogs, no scaling adjustments.
This is the approach that LabelChop uses. It runs quietly in the background on Windows, watching your download folder. When a shipping label PDF lands, it detects the label, crops it to 4×6, and sends it straight to your thermal printer — typically in under 3 seconds. It works with MyPost Business, Sendle, StarTrack, and most other Australian carriers that generate A4 label PDFs.
If you're printing more than a few labels a day, this kind of automation pays for itself in time saved almost immediately.
Which Method Should You Use?
It depends on your volume:
Low Volume (1–5 labels per week)
Chrome's print dialog (Method 2) is probably fine. It's free, and the manual effort is manageable at this scale. Alternatively, use the free A4 to 4x6 shipping label converter — just upload your PDF, crop it, download, and print. No installation required. Bookmark this guide and the converter for quick reference.
Medium Volume (5–20 labels per week)
A PDF cropping tool like Briss (Method 4) will save you time. The upfront setup is worth it when you're printing regularly. Consider moving to a watch folder solution if the manual cropping starts to grate.
High Volume (20+ labels per week)
Automated watch folder processing (Method 6) is the clear winner. The time you save per label adds up fast — even at just 2 minutes saved per label, 20 labels a week is 40 minutes back. Over a month, that's nearly 3 hours of label fiddling eliminated.
Quick Troubleshooting Tips
If your labels aren't printing correctly regardless of method, check these common issues. For a fuller checklist, use the guide to fixing shipping label printing problems.
Barcode Won't Scan
- Make sure you're printing at the printer's native resolution (usually 203 DPI for thermal printers).
- Avoid screenshot-based methods — they reduce DPI below scannable levels.
- Check that the barcode isn't being clipped by the crop area.
Label Prints Off-Centre
- Your printer's margins might be set incorrectly. Most thermal printers should have 0mm margins for 4×6 labels.
- The label roll might not be aligned properly — check the guides on your printer.
Blank Labels Coming Out
- The label stock might be loaded upside down. Thermal labels have a heat-sensitive side — flip the roll and try again.
- Check your printer driver is set to Direct Thermal (not Thermal Transfer, unless you're using ribbon).
- If the printer feeds labels but nothing appears, use the blank thermal label troubleshooting checklist before replacing the roll.
Label Is Too Small or Too Large
- Check the paper size in your printer driver matches 100×150mm (4×6 inches).
- In the print dialog, make sure scaling is set to 100% or Actual Size, not "Fit to Page".
If the print preview looks correct but the label comes out rotated, work through the shipping label printing sideways fixes before changing the PDF itself.
Setting Up Your Thermal Printer for 4×6 Labels
Before tackling the PDF cropping problem, make sure your thermal printer is configured correctly. This saves headaches down the line, especially if you also need the full 4x6 shipping label print settings checklist.
Step 1: Install the Correct Driver
Don't rely on Windows' generic driver. Download the manufacturer's driver:
- Dymo: search Dymo Support for your LabelWriter model
- Zebra: search Zebra Support for ZDesigner drivers or Zebra Browser Print
- Brother: use brother.com.au/support
Step 2: Set the Default Paper Size
In Printers & Scanners → Your Printer → Printing Preferences:
- Paper size: 4×6 inch or 100 × 150 mm
- Orientation: Portrait (unless your labels are landscape)
- Media type: Labels or Direct Thermal
Step 3: Test Print
Print a test page from the printer driver to confirm the label area is correct. If it's offset, adjust the top and left margins in the driver settings.
Step 4: Set as Label Default
If you have multiple printers, set your thermal printer as the default for label-related applications. This prevents accidentally sending labels to your A4 office printer.
The Bottom Line
Printing 4×6 shipping labels from A4 PDFs shouldn't be this complicated — but until Australian carriers start offering direct 4×6 downloads, it's a problem every thermal printer owner needs to solve.
For occasional use, free manual methods work. For daily shipping, automating the crop-and-print workflow will save you hours every month and eliminate the frustration entirely.
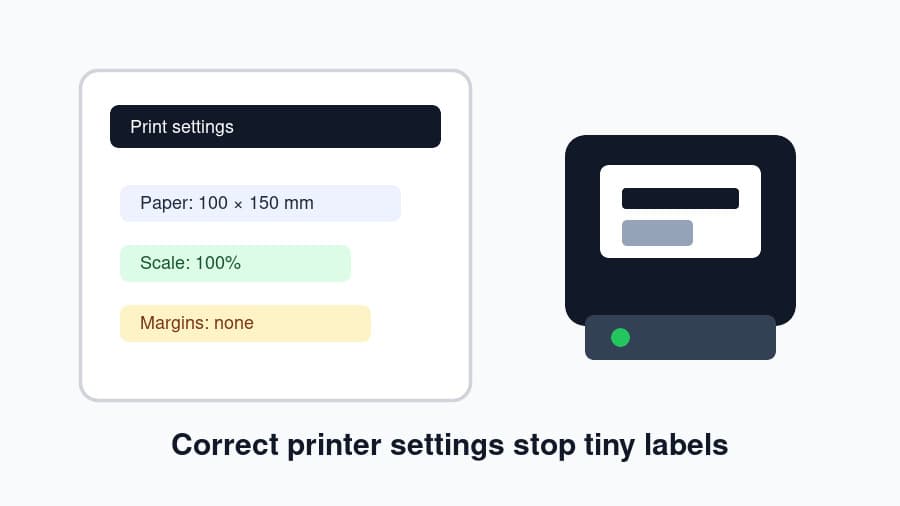
Whatever method you choose, the key settings to remember are:
- Paper size: 4×6 inch / 100×150mm
- Scaling: 100% / Actual Size
- Margins: None / 0mm
- Print quality: Match your printer's native DPI
Get those right, and you're most of the way there.
Shipping labels eating your time? Check out LabelChop's pricing — 14-day free trial, then $9/month to never manually crop a label again.