

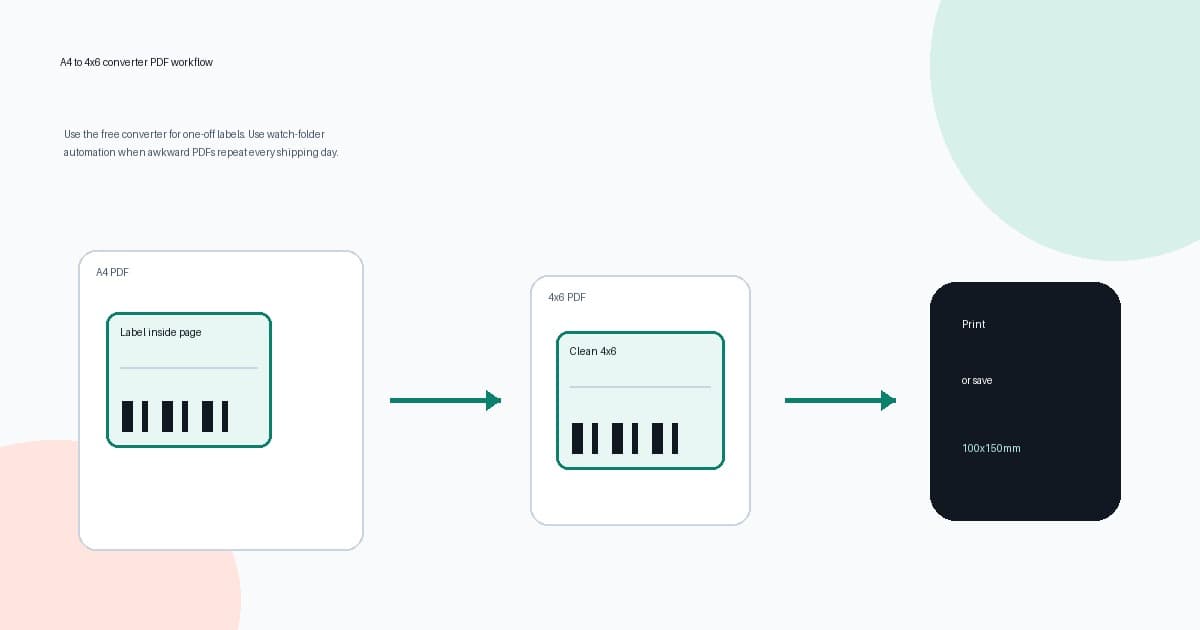
An A4 to 4x6 converter PDF tool is perfect when you have one awkward shipping label and need it printed today. Upload the A4 or Letter PDF, crop the label area, download the 4x6 version, then print it on your thermal printer at 100 percent scale.
That works well for one label. It starts to feel silly when you do the same crop every morning for MyPost Business, USPS, Royal Mail, eBay, Etsy, Shopify or another shipping workflow that keeps giving you full-page PDFs.
This guide explains the workflow choice: when the free A4 to 4x6 shipping label converter is enough, when to inspect the PDF first, and when to move the repeated crop-and-print step into LabelChop watch-folder automation.
In this article:
- The short answer
- Check what kind of PDF you have
- Use the free converter for one-off labels
- Print the converted PDF without shrinking it
- Avoid screenshot and Word workarounds
- Use batch checks before converting several pages
- When to automate the PDF workflow
- Related label tools and guides
The short answer
Use the converter when the problem is the PDF page size, not the printer hardware.
If the shipping label is trapped inside an A4 or Letter page, the thermal printer may shrink the whole page onto one 4x6 label. That makes the barcode tiny, clips the address or leaves a lot of blank feed. A converter fixes the input file by creating a proper label-sized PDF before it reaches the print dialog.
If the PDF is already a true 4x6, 6x4 or 100x150mm page, do not crop it again. Print it at actual size with the matching paper preset. If it still fails, the issue is probably scale, driver paper size, calibration or label stock. The shipping label print scale calculator and 4x6 shipping label settings checker are better starting points for that case.
Use this simple split:
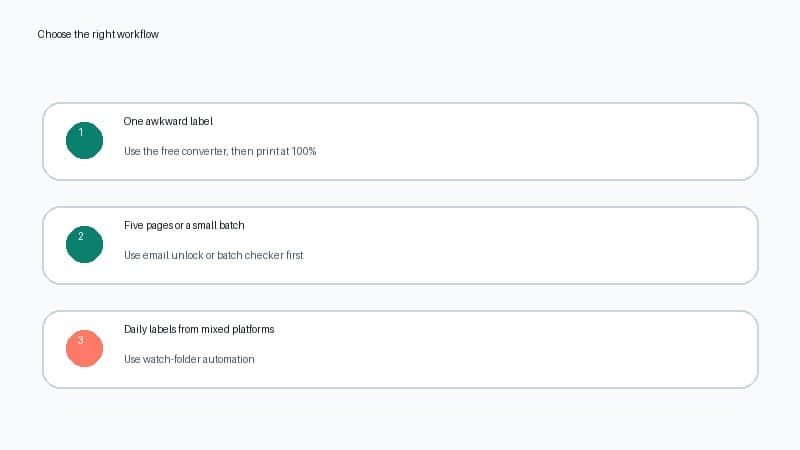
| What you have | Best next step | Why | |---|---|---| | A4 or Letter PDF with one label inside | Convert to 4x6 first | The printer should receive a label-sized page | | Native 4x6, 6x4 or 100x150mm PDF | Print at actual size | Cropping again can introduce new mistakes | | Multi-page label PDF | Check page count and batch rules first | One upload can contain several labels | | Screenshot or pasted image | Go back to the original PDF | Screenshot resizing can blur the barcode | | Same awkward PDF every shipping day | Automate the workflow | Manual conversion does not scale |
Check what kind of PDF you have
Before you convert anything, identify the PDF shape. This prevents the two most common mistakes: converting a label that is already correct, or printing a full-page PDF straight to the thermal printer.
Open the PDF and look at the page itself, not just the label graphic.
A full-page A4 or Letter PDF usually has a lot of empty space around the actual label. The shipping label may sit in the top-left corner, in the centre, or as one item on a sheet. That file is designed for an office printer unless the shipping platform offers a thermal-label setting.
A true 4x6 PDF usually has one label filling one small page. The barcode, address and service details should look like they belong on the thermal stock. If the PDF viewer shows page dimensions close to 4x6 inches, 6x4 inches, 100x150mm or 102x152mm, the file is probably already close to thermal-printer ready.
If you cannot tell, use the shipping label size checker. It is built for this exact diagnosis: A4, Letter, A6, 4x6, 6x4, 100x150mm or custom page size.
This matters because carriers and marketplaces are inconsistent. One USPS, Royal Mail, Australia Post, Shopify or eBay workflow may give you a clean label-sized PDF. Another path from the same business may give you A4 or Letter output. LabelChop helps with compatible PDFs from those workflows, but it is not an official integration with the carrier or marketplace.
Use the free converter for one-off labels
The free converter is the fastest path when you only need to rescue a small number of labels. If the wording in your workflow is "resize this label to 4x6" rather than "A4 to 4x6", the resize shipping label to 4x6 converter points to the same PDF-first fix with resize-specific checks.
Use it like this:
- Open the A4 to 4x6 shipping label converter.
- Upload the A4 or Letter shipping-label PDF.
- Choose the crop position that matches the file, usually top-left or centred.
- Preview the output before trusting it on paid postage.
- Download the 4x6 PDF.
- Print the downloaded file at actual size or 100 percent.
This is useful when you are testing a new printer, fixing a one-off marketplace label, handling an unusual returns label, or printing a few labels a week.
The converter is not meant to replace a daily fulfilment workflow. If you convert every label by hand, you have only moved the manual step from Acrobat into a browser. That is still much better than screenshotting, but it is still a manual step.
A good rule is simple: if the label pain happens once, use the converter. If it happens every shipping day, automate the folder.
Print the converted PDF without shrinking it
A clean 4x6 PDF can still print badly if the print dialog changes it.
After conversion, set the printer to the label stock you actually loaded. For most ecommerce thermal printers, that means 4x6 inches, 6x4 inches, 100x150mm, 101x152mm, 102x152mm or the exact custom size your driver uses.
Then set scale to actual size, 100 percent or no scaling. Avoid fit to page for a converted 4x6 PDF. Fit to page sounds safe, but it can shrink the label inside the printable area or shift it away from the barcode quiet zone.
If the converted file prints tiny, check whether the browser or PDF viewer is still using A4 or Letter as the printer paper size. If the barcode is clipped, check orientation, margins and calibration. The shipping label cut-off troubleshooting guide covers edge clipping in more detail.
One test print is worth it before a real batch. The barcode should be sharp, the address should be readable, and the label should stop on one piece of stock. If you want to practise without using paid postage, the sample 4x6 shipping label PDF guide explains which test files are safe. Once that works, save the preset and stop changing settings between labels.
Avoid screenshot and Word workarounds
The screenshot method is tempting because it feels quick. Open the PDF, zoom in, screenshot the label, paste it into Word or an image editor, resize it to 4x6, print.
It works sometimes. It is also one of the easiest ways to make a barcode worse.
A PDF label is normally sharp vector or high-resolution content. A screenshot turns that into pixels at your screen resolution. When you paste, crop and resize it again, the barcode edges can soften. The label may look readable to a person but become harder for scanners.
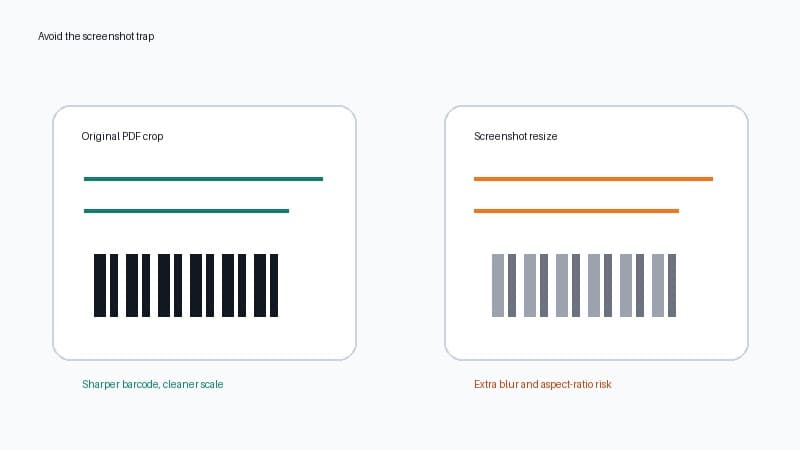
Use the original PDF whenever possible. Crop the PDF page into a label-sized PDF, then print that file. If your barcode already looks soft or fails to scan, use the blurry shipping label barcode troubleshooting guide before sending more parcels.
Screenshots should be the emergency fallback, not the workflow.
Use batch checks before converting several pages
A PDF upload can hide more than one label. That is why page count matters as much as file count.
If you have a multi-page PDF, check whether each page is one label, a sheet with several labels, or a mixed carrier document with customs pages and receipts. Do not assume the first page represents the whole file.
For small batches, the shipping label batch tool helps you inspect page count and spot A4 or Letter pages before you print. The carrier format label tool is useful when you are not sure whether the file came from a label-sized carrier workflow or an office-paper export.
For one-off conversion, keep the free limit in mind. Convert the label you need now, then decide whether the recurring workflow should move to automation. The unit of value is the number of labels you avoid fixing manually, not just the number of PDFs you upload.
When to automate the PDF workflow
Automation makes sense when the same problem repeats.
That might look like this:
- MyPost Business, marketplace or carrier labels keep arriving as A4 or Letter PDFs.
- One workflow gives you 4x6 output, but another gives you full-page PDFs.
- Staff keep changing browser print settings between invoices and labels.
- You ship enough orders that the crop, preview, download and print routine interrupts packing.
- You want labels to print or save after download without opening Acrobat or a browser tool.
LabelChop is built for that recurring PDF step. It watches a folder, detects compatible shipping-label PDFs, crops or resizes them to 4x6 or 100x150mm output, then prints or saves the cleaned file for your normal thermal-printer setup.
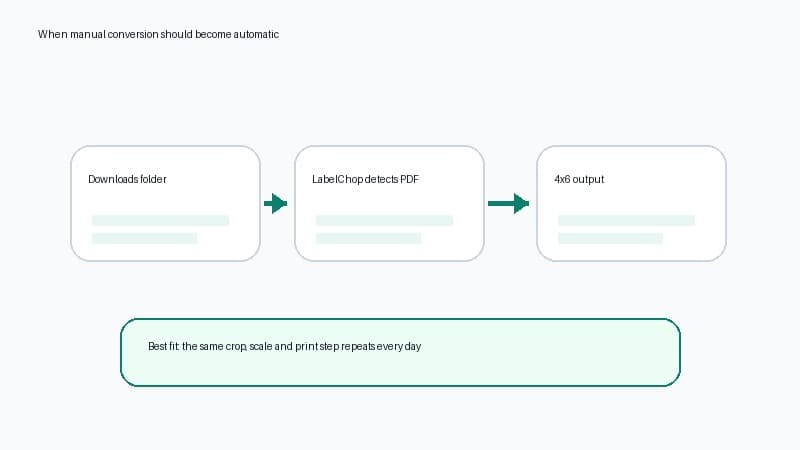
It does not buy postage, replace your printer driver, or create official carrier integrations. It works after you have the PDF. That PDF might come from MyPost Business, USPS, Royal Mail, Shopify, Etsy, eBay or another compatible workflow.
For a few labels per month, keep using the free converter. For daily labels, compare the time spent on manual conversion with the LabelChop pricing page and the watch folder automatic label printing guide.
Related label tools and guides
Use these depending on the problem you see next.
- A4 to 4x6 shipping label converter, for one-off A4 or Letter label conversion.
- Resize shipping label to 4x6, for resize-focused searches and awkward PDFs that need a label-sized page.
- How to crop a shipping label PDF to 4x6, for the detailed crop-first workflow without screenshots.
- Shipping label size checker, if you need to identify the PDF page size before choosing a workflow.
- Shipping label print scale calculator, if the output is shrinking or expanding even after conversion.
- Shipping label batch tool, if one PDF contains several labels or pages.
- Shipping label cut-off troubleshooting, if the converted label clips at one edge.
- Blurry barcode troubleshooting, if screenshots or scaling have made the barcode hard to scan.
A4 to 4x6 conversion is not complicated once you separate the file problem from the printer problem. First make the PDF page match the label stock. Then print at 100 percent. If the same crop keeps coming back, stop doing it by hand and let the folder workflow take over.