USPS Click-N-Ship should be boring in the best way. Buy the label, download the PDF, print it on a 4x6 thermal label and get the parcel out the door.
The annoying version is more familiar. The label downloads as a PDF, the printer spits out something tiny, the barcode is clipped, or the whole thing turns sideways because one setting remembered yesterday's mistake.
This guide is for that exact workflow: Click-N-Ship or USPS label PDFs, a 4x6 thermal printer, and the print settings that need to agree before you send a batch.
In this article:
- The quick Click-N-Ship workflow
- Check the PDF before the printer
- Use 4x6 printer settings that actually match
- Fix common Click-N-Ship printing problems
- Avoid the screenshot workaround
- When folder-to-printer automation helps
- Final checklist before printing a batch
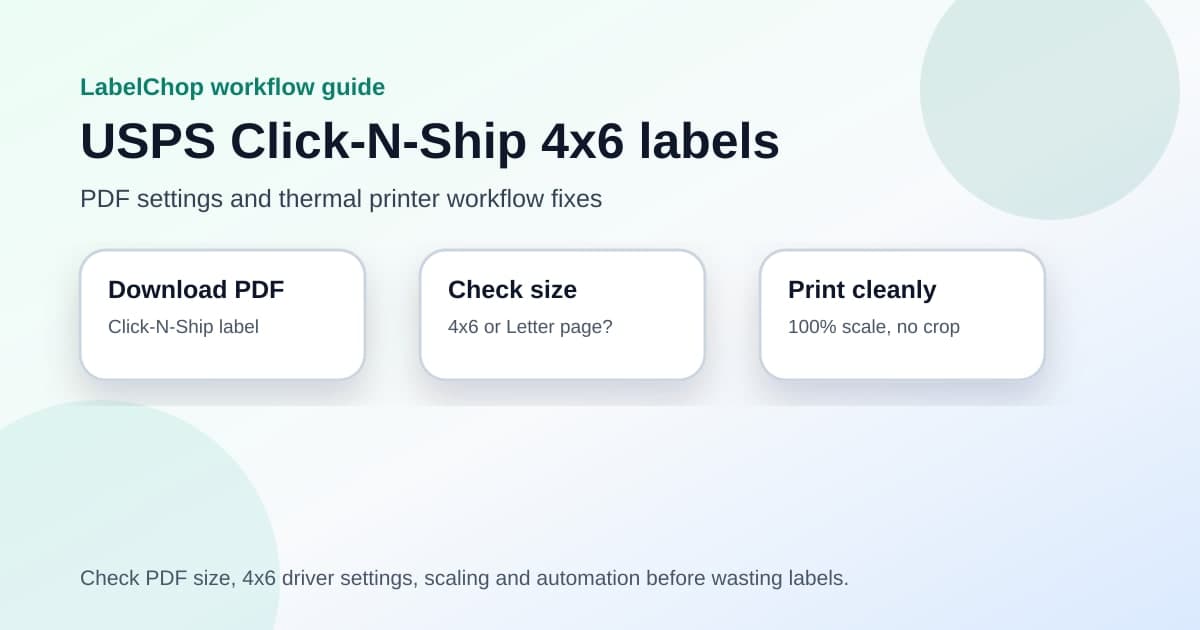
The quick Click-N-Ship workflow
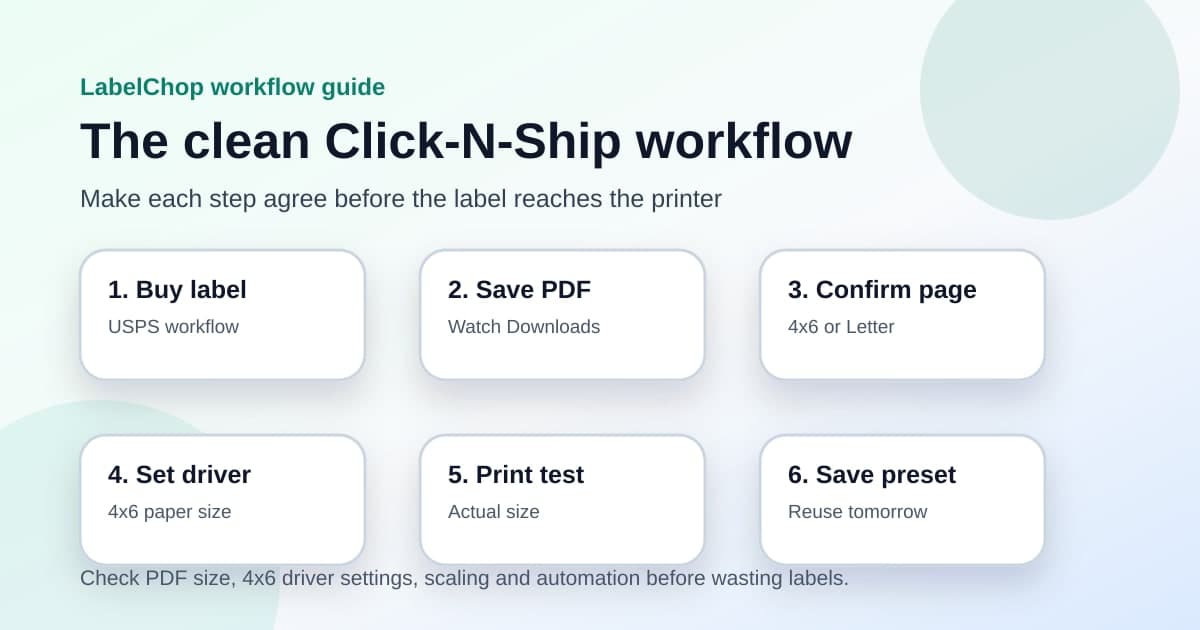
Start with this order of operations.
- Create the label in USPS Click-N-Ship or your connected USPS workflow.
- Download the label PDF instead of printing blindly from the browser.
- Open the PDF and check the page size and orientation.
- If the PDF page is already 4x6 inches, print at actual size or 100 percent.
- If the label sits inside a Letter-size page, crop or convert the label area first.
- Set the thermal printer driver to 4x6 inches.
- Print one test label before you print a batch.
- Save the print preset once it works.
That sequence matters because a thermal printer does not understand your shipping workflow. It only sees a page size, a paper size and scaling instructions.
If those three things do not match, a good printer can still print a bad label.
Check the PDF before the printer
Before changing drivers or buying another printer, open the downloaded PDF and ask one simple question.
Is the PDF page itself a 4x6 label, or is the label sitting on a larger Letter-size page?
A true 4x6 PDF is the cleanest input for a thermal printer. The address, barcode and postage block should fill most of the page in the same orientation as your physical labels.
A Letter PDF is different. It can be perfectly valid for a normal office printer, but it is not ready to send straight to a 4x6 thermal printer. If you print the whole Letter page onto a 4x6 label, the actual shipping label gets shrunk with the rest of the page.
That is why so many labels print too small. The printer did what it was told. It scaled the full page, not the label rectangle you cared about.
USPS has its own Click-N-Ship basics documentation for the postage workflow. For print quality, your practical check is the PDF page size after the label is downloaded.
If the PDF viewer shows a page that is much wider or taller than the label, fix the PDF before touching the printer.
Use 4x6 printer settings that actually match
Once the PDF is right, make the driver match your label stock.
| Setting | Use this | Why it matters | |---|---:|---| | Paper size | 4x6 inches | Matches common USPS thermal label stock | | Metric equivalent | 101.6x152.4mm | Useful if the driver uses millimetres | | Scale | 100 percent or actual size | Stops accidental shrinking | | Margins | None or minimum | Keeps barcode quiet zones clear | | Orientation | Match the preview | Prevents sideways labels | | Preset | Save after testing | Stops the browser forgetting settings |
Do not choose Letter just because the PDF downloaded as Letter. The driver paper size should match the physical labels loaded in the printer.
Do not choose A6 as a lazy substitute either. A6 is close to 4x6, but it is not the same size. That small difference can shift the barcode, trim edges or make batches drift over time.
On Windows, check both printer preferences and the system paper-size settings if your custom 4x6 size keeps disappearing. On macOS, check Page Setup and the final print dialog because the two screens can disagree.

Fix common Click-N-Ship printing problems
Use the symptom to find the setting that is probably wrong.
Click-N-Ship label prints too small
This is usually a PDF size or scaling problem.
Open the PDF. If the page is Letter size, crop or convert the label to 4x6 before printing. If the page is already 4x6, turn off fit-to-page, shrink-to-fit and scale-to-printable-area settings.
Print at actual size, then test again.
USPS label is cut off
A cut-off label usually means the paper size is slightly wrong, the orientation is wrong, or the print dialog added margins.
Check the driver paper size first. Then check whether the PDF preview is upright or rotated. Finally, turn off browser headers, footers and margins.
If only the top or bottom is clipped, recalibrate the printer after loading the roll.
Label prints sideways
Sideways labels come from orientation mismatch.
Some drivers describe labels by width first. Others describe them by feed direction. If a 4x6 label appears as 6x4 in one screen, do not guess. Look at the print preview and run a single test label.
If the label rotates correctly in the PDF viewer but prints sideways from the browser, download the PDF and print from a dedicated PDF viewer instead.
Barcode looks blurry or does not scan well
First, stop resizing by screenshot.
Then check print density, speed and scale. A 203dpi thermal printer can produce perfectly usable shipping labels, but it needs a clean source PDF and sane darkness settings. If the print is too light, increase darkness gradually. If bars look smeared, lower print speed and clean the print head.
Blank labels feed out
Blank labels are usually media or calibration issues rather than a USPS problem.
Check that the roll is loaded the correct way, that it is direct thermal stock if your printer is direct thermal, and that the printer has been calibrated to the label gap or black mark. If a generated test label prints but the USPS PDF does not, the printer is probably fine and the PDF workflow needs attention.
For a broader symptom list, use the shipping label printing problems guide, the too-small label guide, or the cut-off label guide.
Avoid the screenshot workaround
Screenshots feel quick because they let you drag a label into the right shape.
They also create new problems.
A screenshot can reduce barcode sharpness, change the aspect ratio, add fuzzy edges and make tomorrow's label slightly different from today's. That is fine for a rough note. It is a bad habit for postage labels that need clean barcode scans.
If the PDF is awkward, keep the workflow PDF-based. Crop the label area, convert the page to 4x6, then print the resulting PDF at 100 percent.
If you are testing a one-off file, the free A4 to 4x6 shipping label converter can help with awkward A4 or Letter label PDFs. If you are not sure what size the file is, use the shipping label size checker before changing printer settings.
When folder-to-printer automation helps
Manual fixes are okay for one label.
They get painful when you ship every day and your PDFs come from more than one place. Click-N-Ship gives you one format. eBay gives you another. Shopify or Etsy might give you a clean 4x6 one day and a larger page the next, depending on workflow and settings.
That is where LabelChop fits.
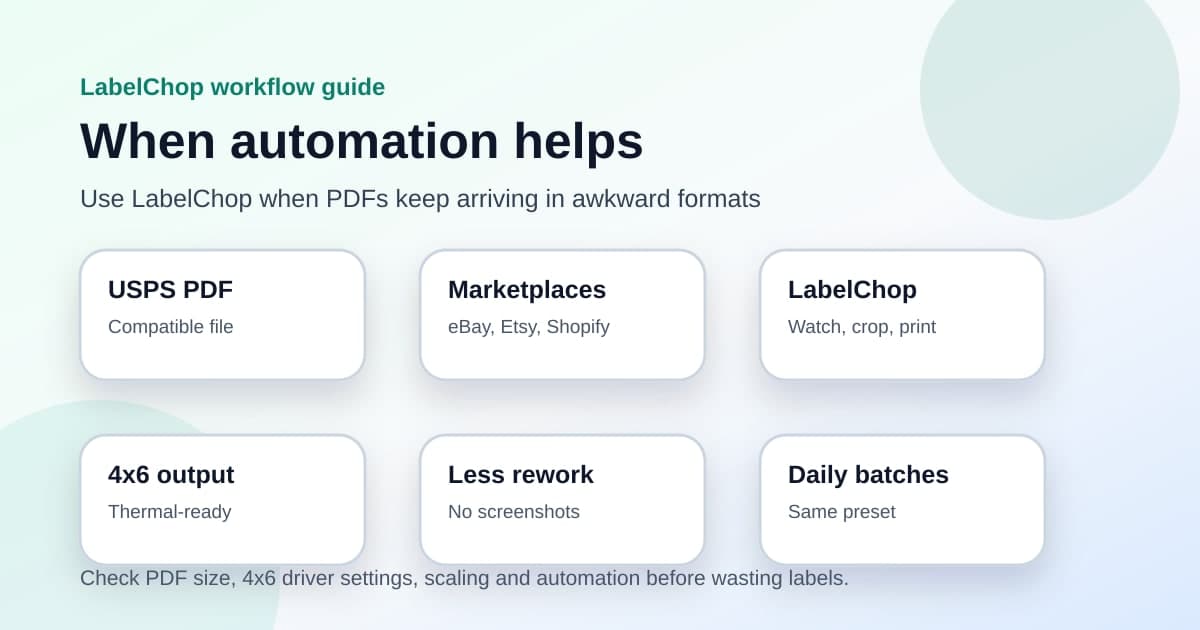
LabelChop watches a folder, detects compatible shipping-label PDFs, crops or resizes awkward pages to 4x6 or 100x150mm output, then prints or saves the fixed label.
It helps with PDFs from USPS and marketplace workflows. It is not an official USPS integration, and it does not buy postage for you. The value is after the label exists, when the PDF still needs to become a clean thermal-printer label without opening Acrobat, taking screenshots or rechecking print settings every morning.
If you already know the test label prints correctly but carrier PDFs keep arriving in awkward sizes, the PDF workflow is the problem worth automating.
Final checklist before printing a batch
Run this once before you trust a batch of USPS Click-N-Ship labels.
- The downloaded PDF page size is 4x6, or the label has been cropped from Letter first.
- The printer driver is set to 4x6 inches, not Letter or approximate A6.
- Scaling is actual size or 100 percent.
- Browser headers, footers and default margins are off.
- Orientation matches the print preview.
- The printer has been calibrated after loading a new roll.
- One test label prints centred, sharp and scannable.
- The working preset is saved for next time.
If the batch still fails, do not keep wasting labels. Work backwards: PDF size first, driver paper size second, scaling third, printer calibration fourth.
Most Click-N-Ship thermal printer problems are not mysterious. They are just one mismatch hiding in the chain between the downloaded PDF and the physical 4x6 label.