
A USPS scale and label printer setup sounds simple until you are trying to pack orders with a queue behind you.
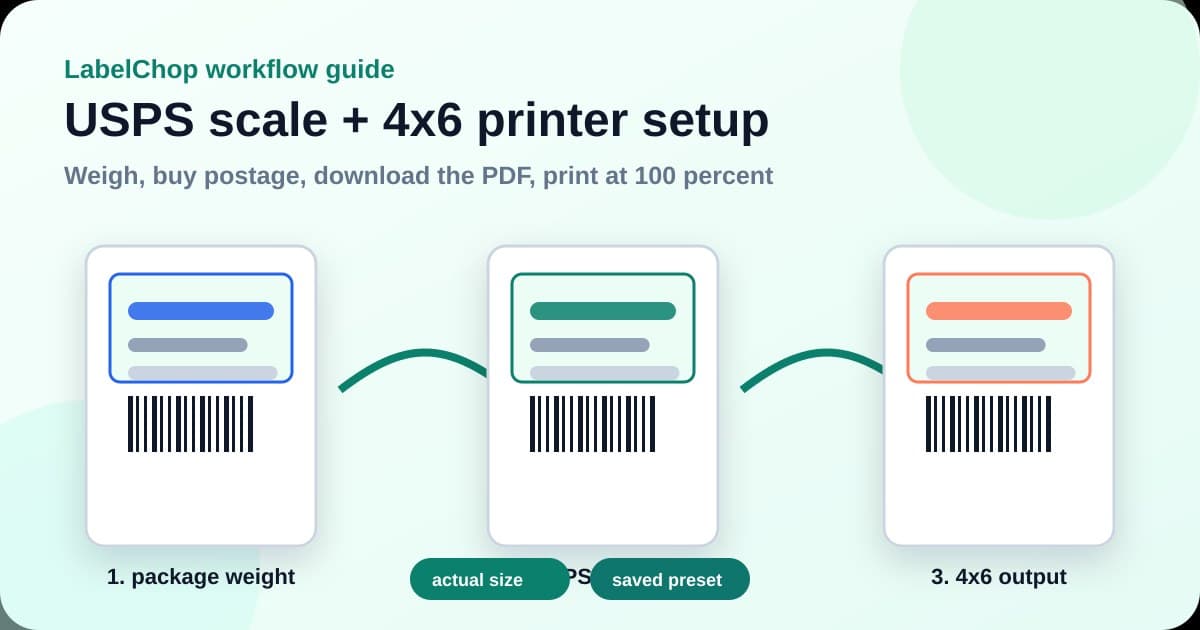
You weigh the parcel, buy the label, download the PDF, hit print, then the thermal printer gives you a tiny barcode, a clipped edge, a sideways label or a blank strip. The scale did its job. The label printer probably did too. The mismatch usually happens between the parcel weight, the downloaded PDF page size and the print dialog.
This guide gives you a practical home-shipping workflow for USPS labels, a postal scale and a 4x6 thermal printer. It is written for sellers using USPS Click-N-Ship, marketplace postage, Shopify, Etsy, eBay or similar workflows where the final label is still a PDF you need to print cleanly.
In this article:
- The short setup checklist
- Set up the scale before the printer
- Create the label, then inspect the PDF
- Use 4x6 printer settings that match the file
- Fix common scale plus printer mistakes
- When to automate the PDF step
- Related USPS and 4x6 guides
The short setup checklist
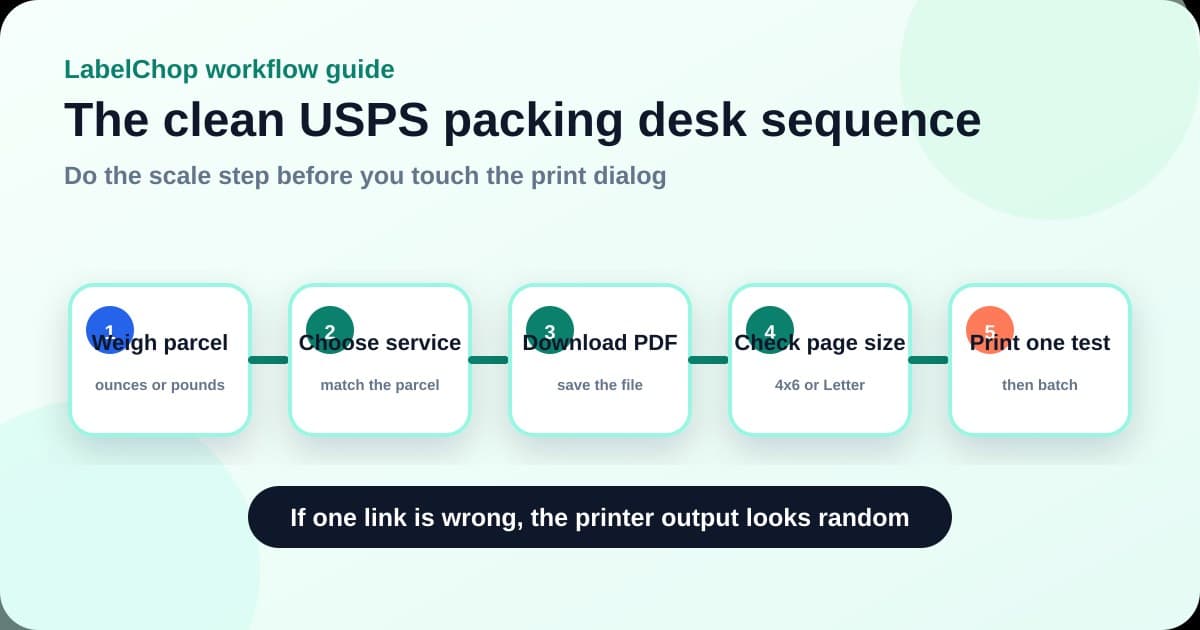
If you only need the working order of operations, use this.
- Put the parcel on a flat, zeroed scale.
- Weigh the parcel after packaging, not before.
- Choose the USPS service and package type that match the packed parcel.
- Buy or create the label in USPS Click-N-Ship, marketplace postage or your shipping platform.
- Download the label PDF instead of printing blind from the browser.
- Open the PDF and check whether the page is 4x6 or Letter.
- If the PDF is already 4x6, print at actual size or 100 percent.
- If the label sits inside a Letter page, crop or convert it to 4x6 first.
- Set the thermal printer driver to 4x6 inches or the exact stock size.
- Print one test label before trusting a batch.
That order matters because a good weight does not fix a bad print setting. A perfect label purchase can still print badly if the PDF page and printer paper size disagree.
For the broader printer setup, see the USPS label printer setup guide. If your main issue is Click-N-Ship output, use the USPS Click-N-Ship 4x6 workflow alongside this checklist. If the printer on your bench is a LabelWriter 4XL, the Dymo 4XL USPS setup guide covers the Dymo-specific driver and paper-size checks.
Set up the scale before the printer
The scale step is about postage accuracy, not print quality. Still, it belongs at the start of the workflow because it decides the service, package type and label you create.
Use the scale like this:
- Put it on a hard, flat surface.
- Turn it on and let it settle at zero.
- Use tare if you are weighing with a tray, tub or container.
- Weigh the packed parcel with the mailer, box, void fill and tape included.
- Record the weight in the unit your postage workflow expects.
- Re-weigh if you change packaging after buying the label.
Do not weigh the product alone and then guess the final parcel weight. A small difference can matter when a parcel is near a service threshold. It can also create support headaches if the buyer receives postage-due friction or the shipment gets delayed for a correction.
Once the weight is correct, leave the scale alone and move to the label file. If the printed label comes out too small, the scale is almost never the cause. The next thing to inspect is the PDF page size.
Create the label, then inspect the PDF
USPS labels can come from a few places. You might use USPS Click-N-Ship, a marketplace postage flow, Shopify Shipping, Etsy labels, eBay labels or another shipping platform that produces USPS postage.
The source matters because the final PDF can be different even when the carrier is the same.
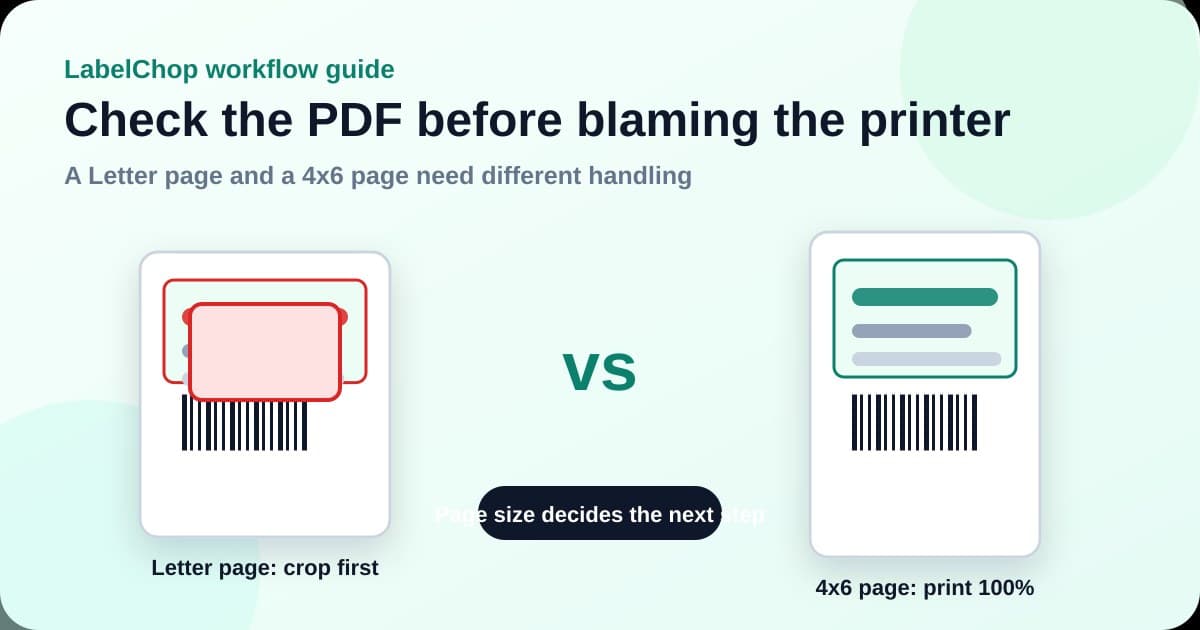
Open the downloaded file and ask this before printing: is the whole PDF page the label, or is the label sitting on a larger Letter page?
A true 4x6 label PDF is ready for a thermal printer once the driver also uses 4x6 paper. The label fills the page. The barcode has breathing room. There is no big office-paper sheet around it.
A Letter PDF is different. It may be perfectly valid for an office printer, but if you send the whole page to a 4x6 thermal printer, the driver may shrink the entire Letter page onto one small label. That is how sellers end up with a readable address on screen and a tiny barcode on paper.
USPS has official Click-N-Ship basics for the account and postage side. For thermal printing, your practical check is the downloaded PDF after the label exists.
Use 4x6 printer settings that match the file
After the PDF check, make the printer match the label stock.
Use these baseline settings for most 4 inch thermal printers.
| Setting | Use this | Why it matters | |---|---:|---| | Paper size | 4x6 inches | Matches common USPS thermal label stock | | Metric equivalent | 101.6x152.4mm | Useful when drivers use millimetres | | Scale | Actual size or 100 percent | Prevents accidental shrinking | | Orientation | Match the preview | Prevents sideways or clipped labels | | Margins | None or minimum | Keeps barcode quiet zones clear | | Browser extras | Off | Stops headers, footers and page titles appearing | | Calibration | Run after loading a roll | Helps the printer stop at each label gap |
Do not choose Letter in the printer driver just because the source PDF downloaded as Letter. The driver paper size should match the physical labels in the printer.
Do not choose A6 as a lazy 4x6 substitute either. A6 is close, but it is not the same. A6 is wider and shorter than 4x6, so it can shift the barcode or cut off edges across a batch.
If your printer supports saved presets, create one named USPS 4x6 actual size after a successful test. That saves you from checking the same settings every time the browser or PDF viewer updates.
For a deeper settings walkthrough, use the 4x6 shipping labels print settings guide. If you are choosing printer hardware for the first time, the best USPS label printer workflow checklist covers the buying tests, while the shipping label printer setup guide for small business covers driver, stock and workflow choices across brands.
Fix common scale plus printer mistakes
Use the symptom to decide where to look.
The USPS label prints too small
This is usually a PDF size or scaling problem.
Open the PDF. If the page is Letter, crop or convert the label to 4x6 before printing. If the page is already 4x6, turn off fit-to-page, shrink-to-fit and scale-to-printable-area settings.
The shipping label printing too small guide has a symptom-first diagnosis if the label keeps shrinking after you change settings.
The label is cut off
A cut-off USPS label usually means the paper size, orientation or margins are wrong.
Check the driver size first. Then check whether the PDF preview is upright or rotated. Finally, turn off browser headers, footers and default margins.
If only one edge clips after several labels, recalibrate the printer and confirm the roll size in the driver. The cut-off label troubleshooting guide goes deeper on that edge-by-edge check.
The scale weight is correct but postage looks wrong
Recheck package type and dimensions, not the printer.
A scale only gives weight. It does not know whether the parcel is a box, padded envelope, flat, tube or other package type. If the postage workflow asks for dimensions, enter the packed parcel dimensions too.
If you changed the box or added more packing after buying postage, weigh again before creating the next label.
The barcode looks blurry
Avoid screenshots and image resizing.
A screenshot turns a sharp PDF label into a lower-quality image, then the print dialog may scale it again. Use the original PDF where possible. If the page is wrong, crop or convert the PDF rather than screenshotting it into a document.
The blurry shipping label barcode guide covers density, speed, DPI and scaling checks.
Blank labels feed through
Blank labels are usually hardware, stock or calibration, not USPS.
Check that the direct thermal roll is loaded the correct way around, then print a printer self-test. If the self-test is blank, fix the printer before changing the USPS label workflow. If the self-test works but the USPS PDF does not, return to the PDF size and scaling checks.
When to automate the PDF step
A manual scale and printer workflow is fine if you ship a few parcels per week.
It gets annoying when you ship every day and your labels come from several places. One USPS PDF is true 4x6. Another marketplace export is Letter. A returns label has a different layout. The browser remembers a bad fit-to-page setting from yesterday.
That repeated PDF cleanup is where LabelChop fits.
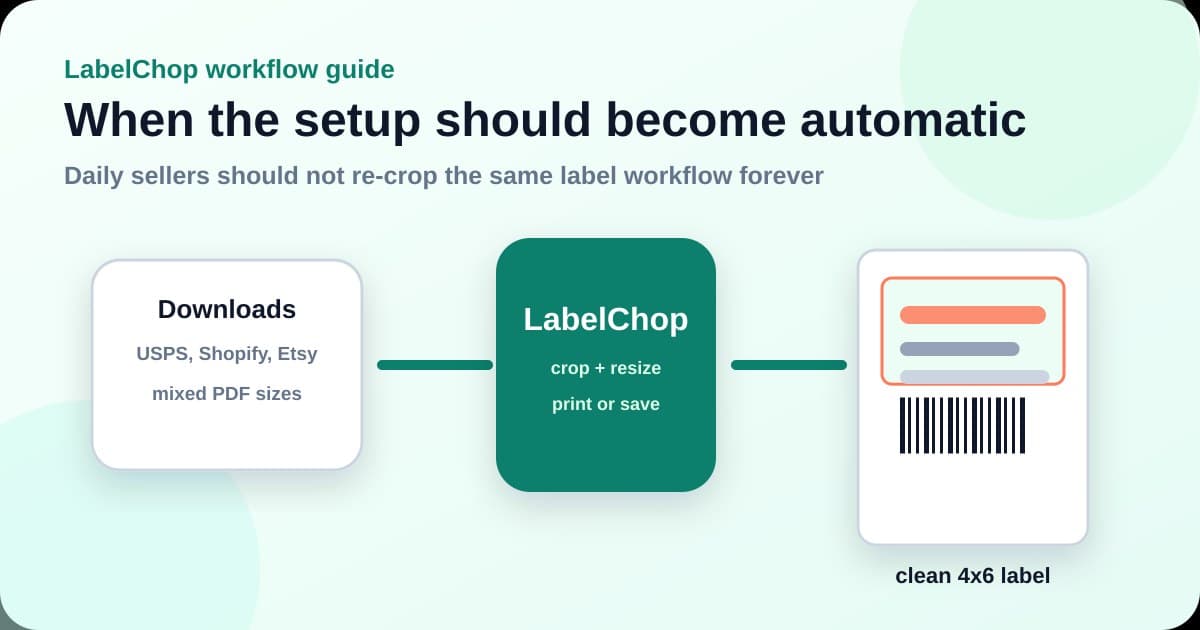
LabelChop watches a folder, detects compatible shipping-label PDFs, crops or resizes awkward pages to 4x6 or 100x150mm output, then prints or saves the fixed label. It works after the label exists. It does not replace a scale, buy USPS postage or act as an official USPS integration.
Use the free A4 to 4x6 shipping label converter if you are fixing one awkward PDF. Use the shipping label size checker if you are not sure whether the file is 4x6, Letter, A4, A6 or 100x150mm. Use LabelChop when the same crop, resize and print routine keeps coming back.
Related USPS and 4x6 guides
These are the next useful reads in the same workflow cluster.
- USPS label printer setup, for the full 4x6 printer setup and troubleshooting sequence.
- Best USPS label printer workflow checklist, for choosing hardware that fits 4x6 PDFs and daily shipping.
- USPS Click-N-Ship 4x6 workflow, for Click-N-Ship-specific PDF checks.
- 4x6 shipping labels print settings, for paper size, scale, orientation and margins.
- Shipping label printer setup for small business, for choosing and configuring the broader fulfilment desk.
- A4 to 4x6 shipping label converter, for one-off awkward PDF conversion before printing.
The main lesson is simple. Treat the scale, the USPS label PDF and the thermal printer as one chain. Weigh the finished parcel, inspect the downloaded PDF, print at 100 percent on matching 4x6 stock, then save the working preset. If the same PDF cleanup keeps repeating, automate that part instead of fighting the print dialog every morning.