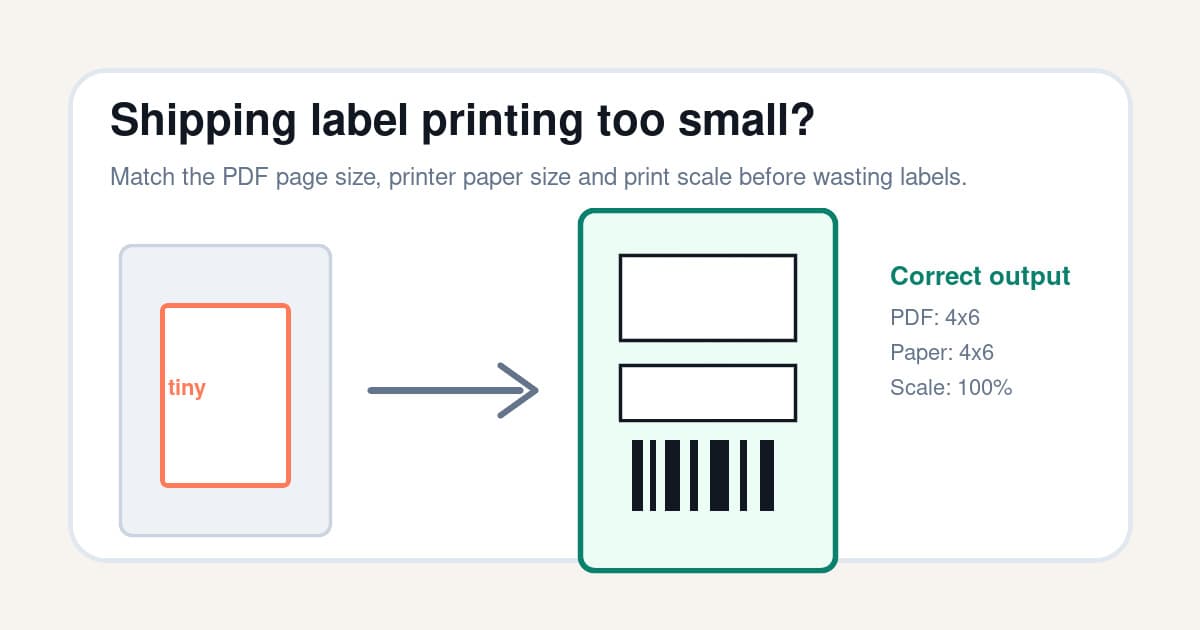
A shipping label printing too small is usually not a bad printer. It is usually a size mismatch hiding in the chain between the PDF, the print dialog and the thermal printer driver.
The most common version looks like this: your carrier or marketplace gives you an A4 or Letter PDF, the label sits somewhere on that page, then the print dialog squeezes the whole sheet onto one 4x6 label. The printer did what it was told, but the result is a tiny label with wasted white space.
This checklist shows what to check first, how to fix the scale, and when you need to crop or convert the PDF before printing. If you are wondering whether the smaller label is still acceptable, read can shipping labels be smaller than 4x6? before mailing it. If your label is full size but clipped at the edge, use the shipping label cut-off troubleshooting guide instead. If the preview is enlarged or spread across more than one physical label, use the shipping label printing too big checklist. If the label size is right but the barcode looks fuzzy, use the blurry shipping label barcode guide.
In this article:
- Quick fix checklist
- Why shipping labels print too small
- Check whether the PDF is A4, Letter or 4x6
- Set the printer paper size to 4x6 or 100x150mm
- Use actual size, not fit to page
- Fix tiny labels from A4 or Letter PDFs
- Fix labels that are small only in one direction
- Check calibration, margins and browser printing
- When to automate the crop and print step
- Final print test before sending parcels
Quick fix checklist
If you are packing orders right now, check these in order.
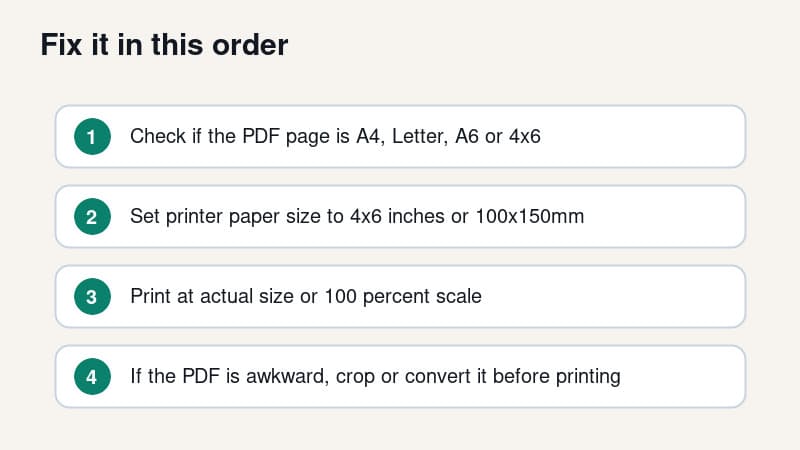
- Open the shipping label PDF and identify the page size.
- If the PDF page is already 4x6 inches or 100x150mm, print at actual size or 100 percent.
- If the PDF page is A4 or Letter, do not print it straight to a 4x6 thermal printer.
- Crop or convert the label area into a 4x6 PDF first.
- Set the printer driver paper size to 4x6 inches or 100x150mm.
- Turn off fit to page, shrink oversized pages and browser margins.
- Print one test label and check the barcode size before printing a batch.
That order matters. Changing darkness, speed or label rolls will not fix a label that is tiny because an A4 PDF is being squeezed onto 4x6 stock.
Why shipping labels print too small
A thermal printer only knows the page you send it and the paper size selected in the driver. If those two things disagree, the print dialog tries to be helpful.
That helpful behaviour is often the problem.
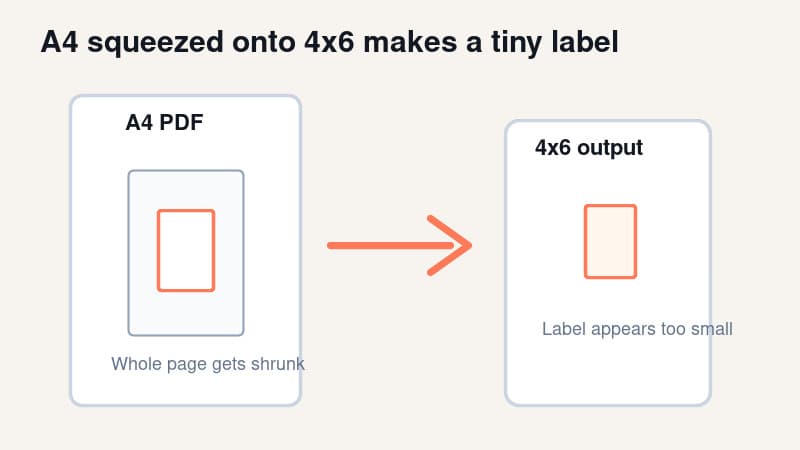
When a PDF viewer sees a large A4 or Letter page and a small 4x6 printer, it may shrink the entire page to fit. The label area becomes tiny because the software is scaling the full sheet, not the actual label rectangle.
The same thing can happen when a 4x6 PDF is printed with the wrong paper size selected. If the driver thinks the paper is A6, 100x100mm or another saved preset, the preview can shrink, clip or rotate the label.
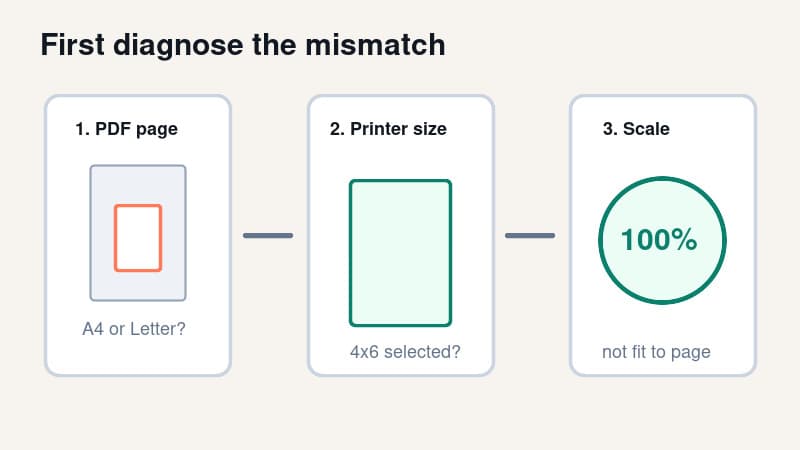
Think of the print job as three separate sizes.
| Layer | What it controls | What can go wrong | |---|---|---| | PDF page size | The digital page you downloaded | A4 or Letter page gets shrunk to 4x6 | | Printer paper size | The label stock in the driver | Wrong preset makes the label scale or clip | | Print scale | The resize rule in the print dialog | Fit to page shrinks an already correct label |
Fix the first wrong layer you find. Do not keep changing every setting at once, or you will not know which change worked.
Check whether the PDF is A4, Letter or 4x6
Before you touch the printer, inspect the PDF.
Open the label and look at the page shape. A true 4x6 shipping-label PDF usually fills the page. The address, barcode and service information are already arranged for one thermal label.
An A4 or Letter label PDF looks different. You may see the label in the top-left corner, centred on a large white sheet, or placed as one half of a full office-paper page. That format can be fine for an inkjet printer, but it is not ready for a 4 inch thermal printer without cropping or conversion.
Some carriers, marketplaces and shipping tools can produce 4x6 output directly. Others may give you A4, Letter, A6 or custom PDFs depending on account settings, browser flow, international services, older downloads or the marketplace export path.
The safe question is not “which carrier is this from?” The safe question is “what size is this PDF page?”
Set the printer paper size to 4x6 or 100x150mm
Once the PDF size is known, make the printer driver match your label stock.
For most ecommerce thermal printers, the target is 4x6 inches or 100x150mm. Those are not mathematically identical, but they are close enough for many shipping-label workflows. Use the option that matches the label roll you bought and the printer driver wording.
On Windows, open the printer preferences and check the paper size. If 4x6 or 100x150mm is missing, create a custom size. Some drivers need the custom size created in Print server properties before it appears inside the app print dialog.
On macOS, check Page Setup and the final print dialog. Saved presets can be overridden by the PDF viewer, so do not assume last week's working preset is still selected.
Use this baseline.
| Setting | Choose first | Avoid while troubleshooting | |---|---|---| | Paper size | 4x6 inches or 100x150mm | A4, Letter, A6, 100x100mm | | Scale | Actual size or 100 percent | Fit to page, shrink, scale to printable area | | Orientation | The preview that fills one label | Blindly choosing portrait or landscape by name | | Margins | None or minimum | Browser headers, footers and page margins | | Output | One label per physical label | Multiple office-paper labels squeezed onto one label |
If your thermal printer has a calibration button or feed procedure, run it after changing label rolls. Calibration will not fix an A4 PDF, but it does stop the printer from drifting after the size problem is solved.
Use actual size, not fit to page
For a true 4x6 PDF, the print scale should be actual size or 100 percent.
Fit to page sounds safe, but it tells the print dialog to resize the PDF to whatever printable area it thinks exists. If the PDF already matches your label, fit to page can still shrink it slightly because the driver reports a non-printable margin.
Shrink oversized pages has the same risk. It can treat a correct label as something that needs adjustment.
Before printing, look at the preview. A healthy preview shows one label filling the label area, with the barcode and address block at a normal size. A bad preview shows a tiny label floating in the middle or corner of a white page. The shipping label print scale calculator is a quick way to compare Actual Size, Fit to page and a custom percentage before you waste another label.
If the preview is tiny, cancel. Printing it will not magically improve on paper.
Fix tiny labels from A4 or Letter PDFs
If the PDF page is A4 or Letter, the fix is to crop or convert the label before sending it to the thermal printer.
For a one-off label, use the free A4 to 4x6 shipping label converter. Upload the awkward PDF, convert the label area to a 4x6 output file, then print the converted PDF at 100 percent.
For USPS labels in particular, check the USPS Click-N-Ship 4x6 workflow so you know whether the problem starts with the downloaded PDF, the page size or the printer dialog. UK sellers can use the Royal Mail label printer setup guide for the same PDF-size check in a Click & Drop workflow.
If the PDF has multiple labels on one sheet, check the converted output before printing the full batch. You want one clean 4x6 page per shipping label, not one large sheet shrunk onto one physical label.
Avoid the screenshot workaround if barcode quality matters. Screenshots turn clean vector PDF text and barcode lines into pixels. Then the print dialog may resize those pixels again. That is how you get labels that are both too small and blurry.
For recurring carrier and marketplace PDFs, cropping by hand gets old quickly. That is where a folder-based workflow can save more time than a single conversion.
Fix labels that are small only in one direction
Sometimes the label is not tiny overall. It is squeezed vertically, squeezed horizontally or rotated into the wrong space.
If the label is short and wide, the printer may be using landscape orientation or a 6x4 style feed direction while the PDF expects 4x6. Check the preview and rotate only if the full label fills the physical stock.
If the label is tall and narrow, the driver may be using a custom width that is too small. Recheck the width and height in the custom paper size. A 4x6 label is 4 inches wide and 6 inches long in the usual shipping-label orientation.
If the label is only slightly reduced, fit to page or printable-area scaling is the likely cause. Switch to actual size and compare one test print.
If the barcode quiet zones are close to the edge, do not keep enlarging blindly. Check whether the PDF was designed for A6, 4x6, 100x150mm or another carrier format. A small size difference can matter near the edges.
Check calibration, margins and browser printing
After PDF size, paper size and scale are correct, check the printer-specific basics.
Run the printer's feed or calibration process so it detects the gap between labels. Poor calibration usually causes drift, repeated blank labels or cut-off labels, but it can make troubleshooting confusing when combined with scaling problems.
If calibration feeds labels but nothing prints, switch to the blank thermal labels checklist before changing the PDF crop again.
Turn off browser headers and footers if you are printing from a browser. A URL, date or page title added by the browser can force margins or change the printable area.
Try a clean test file before blaming the carrier PDF. The free thermal printer test label PDF is useful because it removes carrier layout from the diagnosis. If the test label prints correctly but the carrier label prints tiny, the problem is probably the carrier or marketplace PDF format, not the printer hardware.
Also compare PDF viewers. Adobe Acrobat, Preview, Chrome and Edge can expose different print options. The goal is not to find the fanciest viewer. The goal is to make sure none of them are silently shrinking the file.
When to automate the crop and print step
If this happened once, a converter is enough.
If it happens every day, the real problem is the workflow. Opening a PDF, checking page size, cropping the label, choosing a print preset and testing scale is not a great use of packing time.
LabelChop is built for that recurring awkward-PDF case. It watches your Downloads folder, detects compatible shipping-label PDFs, crops or resizes them to 4x6 / 100x150mm, then prints or saves the result automatically.
It can help with PDF workflows from carriers and marketplaces like USPS, Royal Mail, Australia Post, eBay, Shopify and Etsy. That does not mean LabelChop is an official integration with those services. It means it helps when the PDF you already downloaded needs to become clean thermal-printer output.
If you are still choosing your printer settings, start with the broader 4x6 shipping labels print settings guide. If you already have an awkward A4 PDF in front of you, use the free converter first.
Final print test before sending parcels
Before you put the label on a parcel, check it like a warehouse operator, not like a software person.
The address should be readable at arm's length. The barcode should look sharp, not fuzzy or compressed. The label should fill the stock without cutting off tracking numbers, QR codes, service names or return details.
Use this final pass.
- PDF page is 4x6 or has been converted to 4x6.
- Printer paper size matches the label stock.
- Scale is actual size or 100 percent.
- Fit to page, shrink and browser margins are off.
- Orientation matches the preview.
- Calibration feeds one physical label at a time.
- One test print is full size, centred and sharp.
Once those line up, a shipping label that was printing too small usually becomes boring again. That is the whole point. The printer should be part of packing orders, not the part that steals the afternoon.