

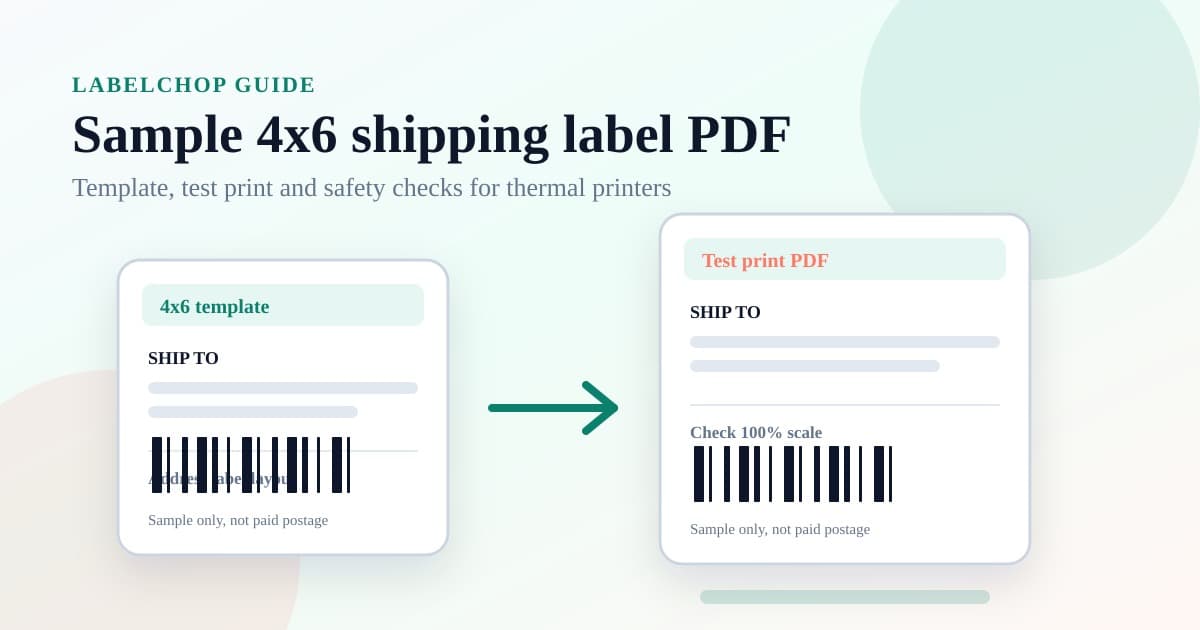
A sample 4x6 shipping label PDF is useful when you want to test a thermal printer without burning a real order label. You can check the paper size, scale, margins and barcode sharpness before printing postage that has a customer name and tracking number on it.
The important part is knowing what the sample is for. A sample label, blank template or calibration PDF is not paid postage. It will not buy a USPS, Royal Mail, Australia Post, eBay, Etsy, Shopify or courier label. It is a safe practice file for your printer and packing bench.
This guide shows when to use a sample template, when to use a test label PDF, how to print at the right 4x6 scale and what to do when your real carrier or marketplace PDF is not actually 4x6.
In this article:
- The quick answer
- Use a template, test label or real carrier label
- Print the sample PDF at 100 percent scale
- Check the printed sample before live postage
- When the real label is A4, Letter or awkwardly sized
- Related 4x6 label tools and guides
The quick answer
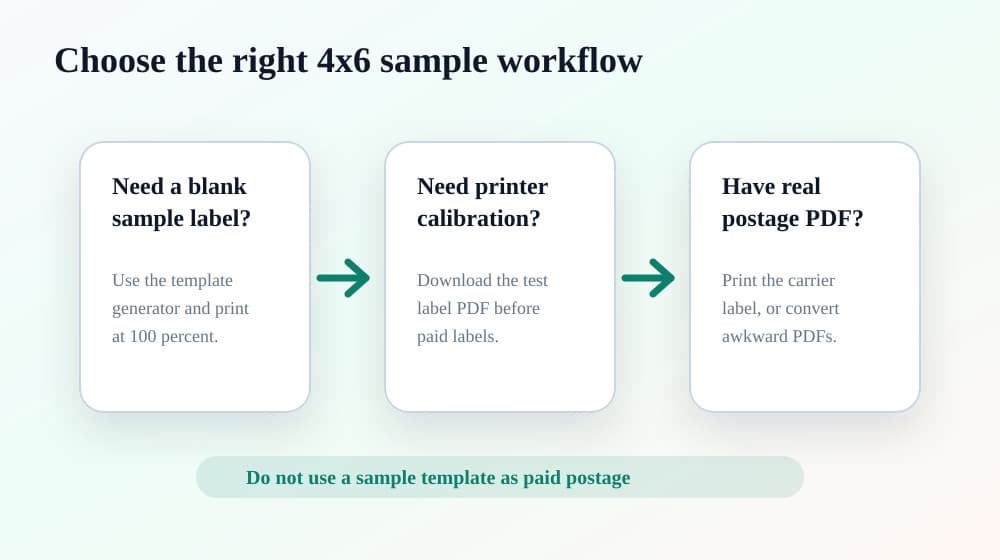
If you need a sample 4x6 shipping label PDF, start with the job you are trying to do.
- Need a blank address-style label with your own sample text? Use the free shipping label template generator.
- Need to check printer scale, margins, border alignment or barcode-like lines? Use the free thermal printer test label PDF.
- Need to print a real parcel label? Use the official carrier or marketplace label you received after buying postage.
- Need to fix an A4 or Letter postage PDF for a 4x6 thermal printer? Use the A4 to 4x6 shipping label converter for a one-off file.
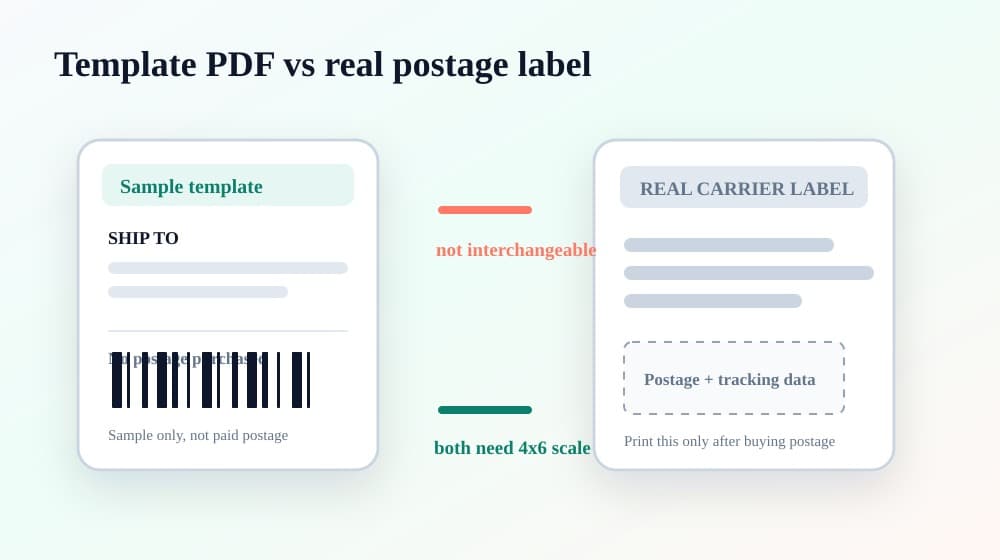
Do not swap those around. A sample PDF is safe because it is not tied to a real shipment. A real postage label is different because it includes the tracking, barcode and carrier data that must go on the parcel.
Use a template, test label or real carrier label
A lot of sellers search for a sample 4x6 shipping label PDF because they are trying to solve one of three problems.
The first problem is layout. You want to see what a 4x6 label looks like, fill in a pretend address or create an internal packing label. That is a template use case. It is fine for warehouse notes, box labels, draft layouts and printer trials.
The second problem is printer setup. You bought a Dymo, Zebra, Brother, MUNBYN, Rollo or similar thermal printer and want to know whether the stock, driver and scale are correct. That is a test label use case. You want borders, centre marks and barcode-style lines, not real postage data.
The third problem is fulfilment. You already bought postage through a carrier, marketplace or shipping tool, and you need the actual label to print correctly. That is not a sample label problem. You need the real PDF from the service that created the shipment.
Use this table to avoid mixing them up.
| What you need | Best starting point | Safe use | |---|---|---| | Blank address label | Shipping label template | Sample labels, internal labels, printer checks | | Printer calibration | Thermal printer test label PDF | Scale, margins, alignment and barcode sharpness | | Paid postage | Carrier or marketplace label PDF | Real parcels only after buying postage | | A4 or Letter label that should print 4x6 | A4-to-4x6 converter | One-off crop or resize before printing | | Recurring awkward label PDFs | LabelChop desktop automation | Watched-folder crop, resize and print workflow |
That distinction matters because a sample label can look realistic while still having no postage value. If it does not come from the carrier or marketplace after a real shipment is created, do not put it on a customer parcel.
Print the sample PDF at 100 percent scale
A sample PDF only helps if you print it the same way you plan to print real labels.
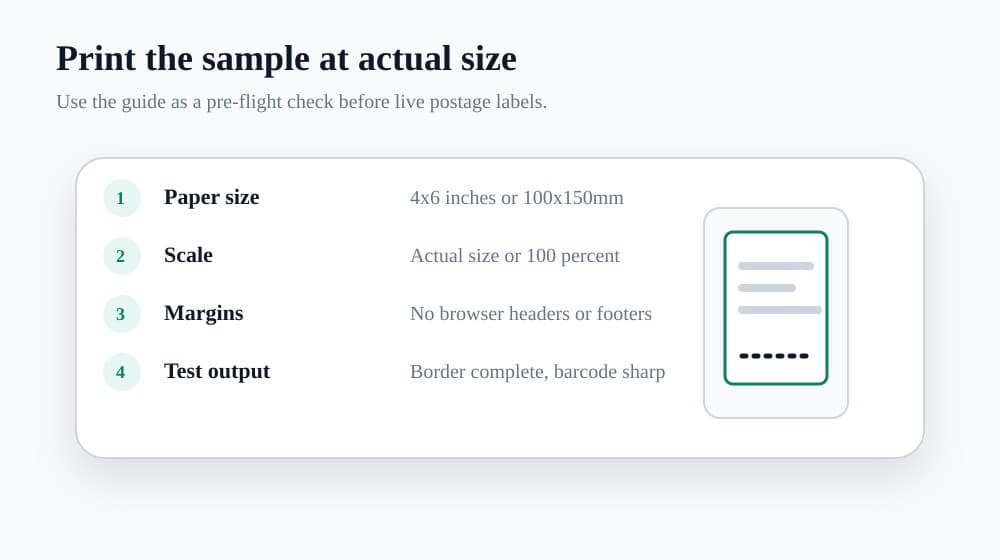
Load 4x6 inch, 6x4 inch or 100x150mm direct thermal stock. Set the printer driver to the matching paper size. Open the PDF in Preview, Adobe Acrobat or your normal viewer. Choose actual size, no scaling or 100 percent scale. If you are not sure whether your roll, fanfold stack or A6-looking label is the right stock, check the 4x6 direct thermal label stock guide before testing live postage.
Avoid fit to page as your default. Fit to page can shrink a label that was already the correct size. It may also add a small margin that moves the barcode or border away from where it should be.
Use this pre-flight sequence.
- Download or generate the sample PDF.
- Open it as a PDF, not as a screenshot or image pasted into a document.
- Choose the thermal printer, not your office printer.
- Set paper size to 4x6, 6x4 or 100x150mm.
- Set scale to actual size or 100 percent.
- Turn off browser headers, footers and extra margins if printing from a browser.
- Print one sample before changing any darkness, speed or calibration settings.
If the label prints tiny, do not keep reprinting the same file. Check the 4x6 shipping label settings checker or the shipping label print scale calculator so you can compare the PDF page size, printer stock and scale setting before wasting more labels.
Check the printed sample before live postage
After the sample prints, inspect it like a real label.
The outer border should be complete. The sample should fill the label without running off one side. Barcode-style lines should look dark and sharp, not grey, fuzzy, streaky or smeared. The centre marks should be where you expect them. The next blank label should stop at the right feed point.
If the sample fails, your real postage label will probably fail too. Use the symptom to choose the next fix.
| Sample output | Likely cause | Next step | |---|---|---| | Sample is tiny | Wrong scale, A4/Letter preset or fit to page | Set 4x6 paper and 100 percent scale | | One edge is clipped | Wrong paper size, orientation or printable area | Check driver size and margins | | Each label drifts lower | Calibration or gap detection | Calibrate the printer and reload stock | | Barcode lines look faint | Darkness, speed, stock or dirty print head | Increase darkness and clean the print head | | Sample is blank | Label roll direction or media type | Check printable side and run printer self-test |
For a step-by-step read of the test output, use the 4x6 label test print troubleshooting checklist. For deeper symptom fixes, use the shipping label cut-off troubleshooting guide, shipping label too big troubleshooting guide, thermal printer blank labels checklist or blurry shipping label barcode guide.
When the real label is A4, Letter or awkwardly sized
A clean sample print proves the printer can produce a 4x6 label. It does not prove every carrier or marketplace PDF will be ready for that printer.
Some shipping workflows export true 4x6 or 6x4 labels. Others give you A4, Letter, A6, a page with receipts, a multi-label sheet or a label sitting in the corner of a larger PDF. That can happen with carrier settings, marketplace exports, international labels, returns or older downloads.
If a sample PDF prints perfectly but your real label prints too small, cut off or sideways, inspect the real PDF page size before blaming the printer. The shipping label size checker and carrier format label tool help you identify whether the file is already label-sized or needs a conversion step first.
For a one-off A4 or Letter file, the free A4 to 4x6 shipping label converter can turn the label area into a 4x6 PDF you can print at actual size. If you need the broader manual workflow, read how to crop a shipping label PDF to 4x6 before screenshotting a barcode into Word.
If the same awkward PDF workflow keeps coming back, automation is usually cleaner than another manual crop. LabelChop watches your Downloads folder, detects compatible shipping-label PDFs, crops or resizes them to 4x6 / 100x150mm and prints or saves the output for your thermal printer. It helps with PDFs and workflows from carriers and marketplaces after you have the file. It is not an official integration with those services.
Related 4x6 label tools and guides
Use these next depending on what you are trying to fix.
- Shipping label template generator, for a blank or sample 4x6 address label PDF.
- Thermal printer test label PDF, for checking scale, margins, alignment and barcode-style lines.
- 4x6 label test print troubleshooting, for deciding what tiny, clipped, sideways, blurry or blank sample output means.
- 4x6 shipping labels print settings guide, for the baseline paper size, 100 percent scale and PDF setup.
- Shipping label size checker, for checking whether a PDF is A4, Letter, A6, 4x6, 6x4 or 100x150mm.
- A4 to 4x6 converter PDF workflow, for deciding when a free converter is enough and when recurring labels should move to automation.
The safe rule is simple. Use a sample label to test the printer, use a real carrier label for paid postage and keep the PDF page size matched to your 4x6 stock. Once those line up, the printer should become boring again.