

The best USPS label printer is not automatically the one with the most reviews, the cheapest Amazon listing or the loudest affiliate page.
For a seller packing real orders, the better question is simpler: which printer can produce a clean 4x6 USPS label from the PDFs you actually download, without wasting labels on tiny, clipped or blurry test prints?
This guide is a workflow checklist for choosing or sanity-checking a USPS label printer. It covers 4x6 support, drivers, barcode quality, scale setup, PDF page-size traps and when a PDF workflow tool matters more than another hardware upgrade.
In this article:
- The short answer
- What a USPS label printer really needs to do
- Printer types that can work for USPS labels
- The 4x6 versus Letter PDF trap
- Barcode quality and dpi checks
- Scale, Click-N-Ship and marketplace workflow checks
- What to test before keeping the printer
- When LabelChop helps
- Related USPS and 4x6 guides
The short answer
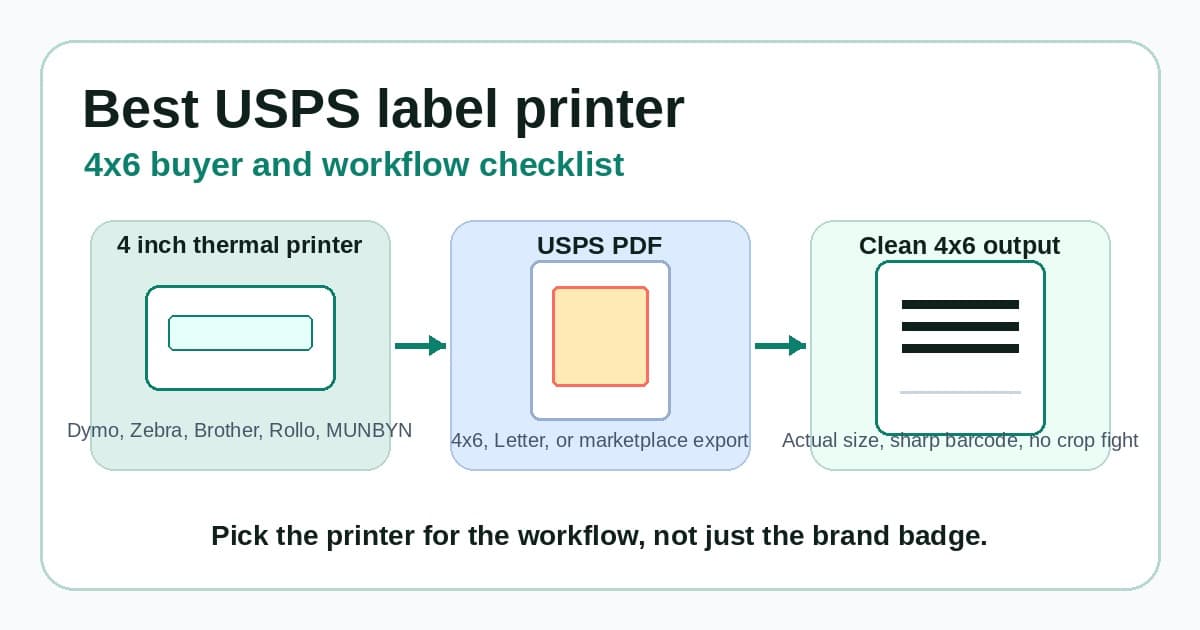
Choose a 4 inch thermal label printer that supports 4x6 inch labels, lets you save a clear 4x6 paper preset, prints sharp barcodes from the original PDF and calibrates reliably after changing label stock.
That can include common shipping-label printer families such as Dymo, Zebra, Brother, Rollo, MUNBYN and similar 4 inch desktop thermal printers. The brand matters, but the workflow matters more.
Before you buy, check these requirements.
- The printer supports 4x6 inch labels, not only narrow address labels.
- The driver works on the computer you ship from.
- You can create or choose a 4x6 paper size.
- You can print at actual size or 100 percent scale.
- The printer can calibrate to your roll or fanfold stock.
- A real USPS or marketplace label prints with a sharp, scannable barcode.
- The setup still works after a restart, browser update or label-roll change.
If you already own a printer and the label prints tiny, start with the USPS label printer setup guide before replacing hardware. A perfect printer can still fail if the PDF page and print dialog disagree.
What a USPS label printer really needs to do
A USPS label printer has one job: take the label file you created and put it on physical stock at the right size.
That sounds obvious, but it is where most wasted labels come from. USPS labels can come from USPS Click-N-Ship, a marketplace postage flow, Shopify, Etsy, eBay or another shipping platform. Each path can give you a slightly different PDF.
A good printer setup does not just ask, “does this printer work with USPS?” It asks:
- Does the printer handle the physical label size I use?
- Does the operating-system driver expose the right paper size?
- Does the print dialog keep actual-size scaling?
- Does the PDF page match the label stock?
- Does the barcode stay sharp enough to scan?
- Can I repeat the same setup tomorrow without checking ten settings again?
For many sellers, a 4x6 or 100x150mm thermal-printer workflow is the safest default. It avoids cutting labels from Letter paper, saves ink and speeds up packing once the preset is stable.
Printer types that can work for USPS labels
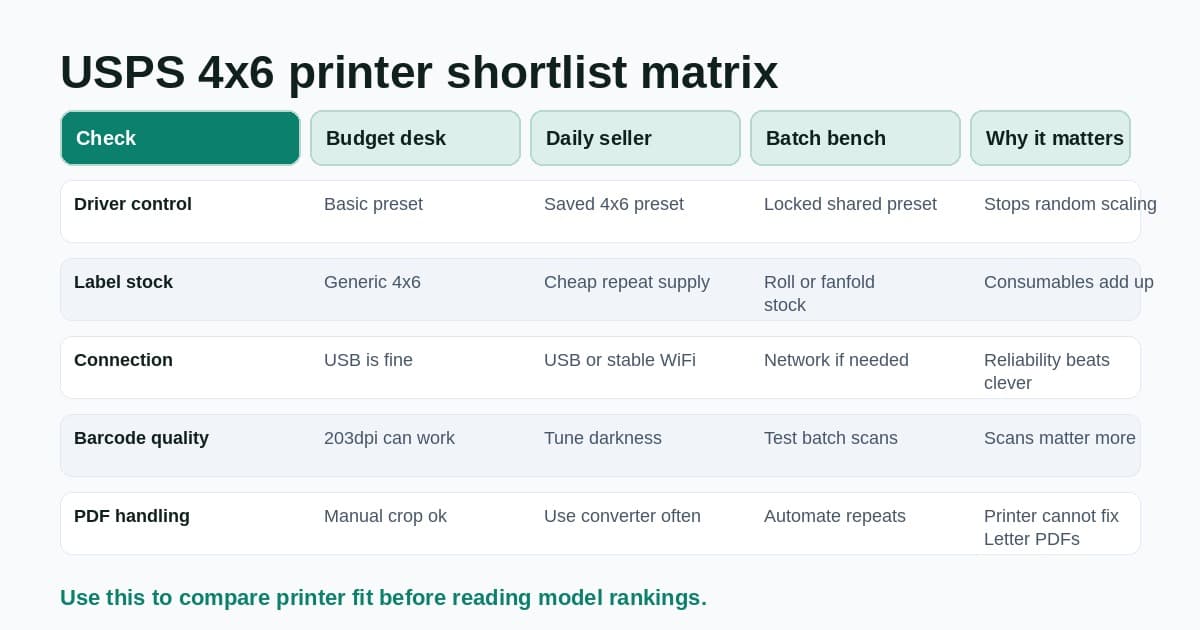
Do not treat this as a ranked hardware list. Treat it as a fit check.
| Printer type | Good fit | Watch out for | |---|---|---| | Dymo wide label printers | Compact desks and simple USB setups | Label compatibility, driver support, model age and the Dymo 4XL USPS 4x6 setup if you already own one | | Zebra desktop printers | Higher-volume benches and reliable calibration | More setup options, so use the Zebra USPS 4x6 setup checklist before judging the printer | | Brother wide QL printers | Mainstream office-style setup and sharp output | Roll format, label cost and exact 4x6 support | | Rollo-style printers | 4x6 ecommerce workflows and generic label stock | Still needs correct PDF size, scaling and calibration | | MUNBYN-style budget printers | Lower upfront cost and generic stock | Driver quality and support can vary by model, so use the MUNBYN USPS 4x6 setup checklist before trusting a batch |
A small seller doing five parcels a day may value simple USB setup and cheap label stock. A warehouse bench may value network printing, faster feed and predictable calibration.
If you already use Rollo, the Rollo 4x6 setup checklist is a better next step than a generic printer comparison. If you are choosing a printer from scratch, the small business shipping label printer setup guide explains the broader driver, paper-size and calibration sequence.
The 4x6 versus Letter PDF trap
This is the mistake that makes people blame the printer too early.
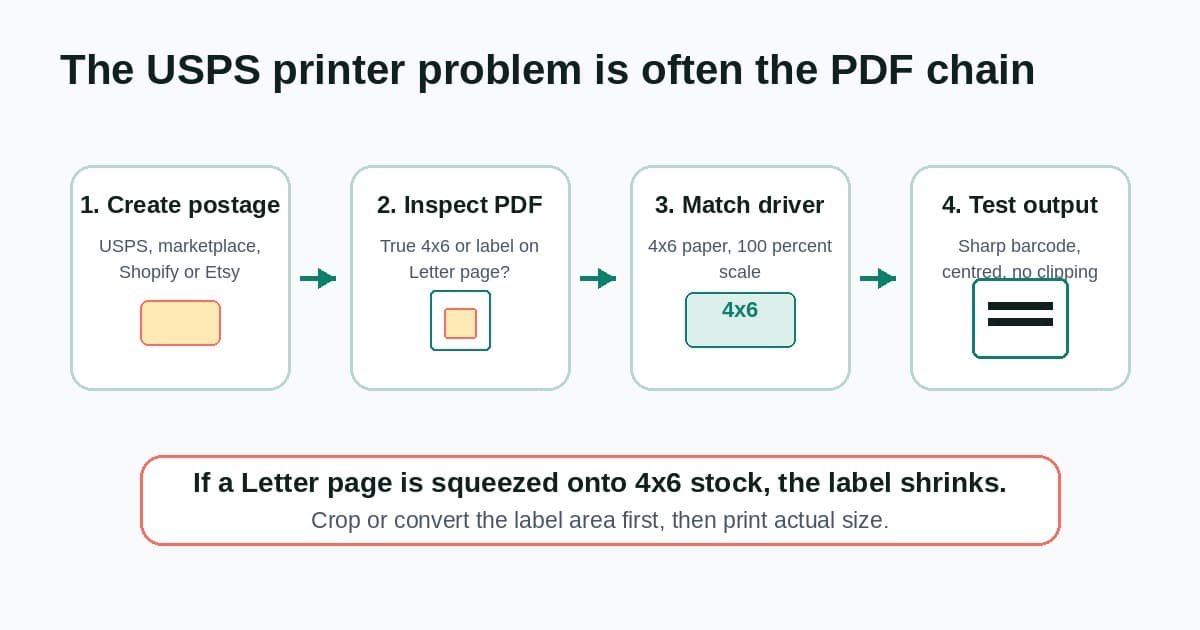
A 4x6 thermal printer expects the page it receives to map to one physical 4x6 label. If the PDF page is already 4x6 and your driver is set to 4x6, the safe setting is actual size or 100 percent.
A Letter PDF is different. The shipping label may be sitting on a larger 8.5x11 inch page. That file can be fine for an office printer, but if you send the whole Letter page to a 4x6 thermal printer, the print dialog may shrink the entire sheet onto one label.
That is how a USPS label becomes tiny even when the printer is fine.
Open the PDF before you print a batch. Ask whether the whole page is the label, or whether the label is sitting inside a larger page. If it is larger, crop or convert the label area first.
The 4x6 shipping labels print settings guide covers the size names in more detail, including 4x6 inches, 100x150mm, 102x152mm, A6, Letter and A4. If you have an awkward one-off file, use the A4 to 4x6 shipping label converter instead of screenshotting the label into another app.
Barcode quality and dpi checks
A USPS label is only useful if the barcode scans.
For many shipping labels, a clean 203 dpi thermal printer can be enough when the PDF is sharp and the print settings are correct. A 300 dpi printer can make small text and barcodes sharper, but it does not fix a bad source file, a screenshot workflow or double scaling.
Before judging barcode quality, remove the avoidable problems.
- Print from the original PDF where possible.
- Avoid screenshot-and-resize workflows.
- Use 100 percent or actual-size scaling.
- Set the driver paper size to 4x6.
- Calibrate after changing labels.
- Tune darkness and speed one step at a time.
- Leave quiet space around the barcode.
If the barcode looks fuzzy, first check whether the PDF was scaled or screenshotted. Then tune darkness, speed and print quality. If barcode quality is the main symptom, the blurry shipping label barcode troubleshooting guide is the more focused fix.
Scale, Click-N-Ship and marketplace workflow checks
The printer is only one part of the USPS shipping chain.
A basic home setup usually looks like this:
- Weigh the packed parcel on a scale.
- Choose the USPS service and package type.
- Create the label in Click-N-Ship, marketplace postage or your shipping platform.
- Download the label PDF.
- Inspect whether the PDF is 4x6 or Letter.
- Print one test at actual size on 4x6 stock.
- Save the working preset.
USPS has its own Click-N-Ship basics for the account and postage side. For thermal printing, your practical check is the downloaded PDF after the label exists.
If your packing bench includes a postal scale, use the USPS scale and label printer setup guide to keep weight, package type, PDF page size and 4x6 print settings in the right order. If the problem is specifically Click-N-Ship output, use the USPS Click-N-Ship 4x6 workflow.
What to test before keeping the printer
Do not judge a USPS label printer from the vendor's demo file alone. Test the actual workflow while you can still return or swap the printer.
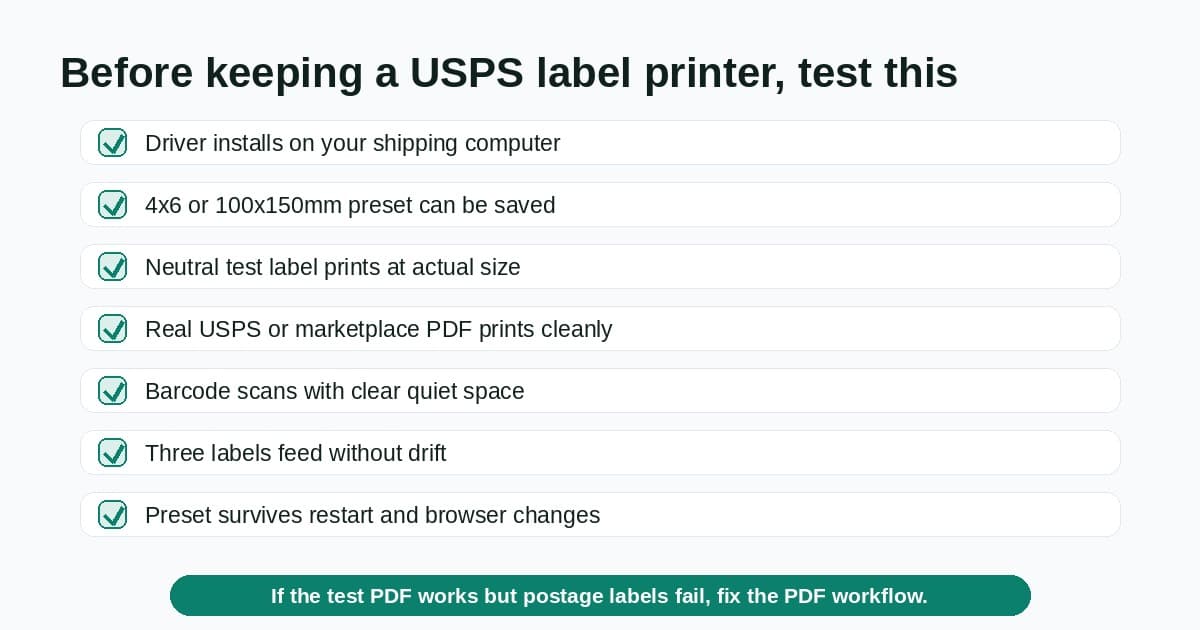
Run this before trusting it for daily orders.
- Install the driver on the computer you actually ship from.
- Load the label stock you plan to keep buying.
- Create a 4x6 or 100x150mm preset.
- Print a neutral 4x6 test label at actual size.
- Print one real USPS label PDF from your normal workflow.
- Check barcode sharpness, quiet space, margins and orientation.
- Print three labels in a row to check feed drift.
- Restart the computer and confirm the preset still appears.
- Repeat the test from the browser or PDF viewer you normally use.
If the neutral test label fails, fix the printer layer: driver, stock, calibration, darkness, speed or roll direction.
If the neutral test label works but your USPS or marketplace label fails, fix the PDF layer: page size, crop, rotation or scaling.
When LabelChop helps
LabelChop is not printer hardware, a driver replacement, a postage tool or an official integration with USPS, Dymo, Zebra, Brother, Rollo, MUNBYN, Shopify, eBay or Etsy.
It sits before the print step. LabelChop watches a folder, detects compatible shipping-label PDFs, crops or resizes awkward labels to 4x6 or 100x150mm output, then prints or saves the cleaned file for your normal thermal-printer workflow.
That matters when the printer itself is fine but the files keep changing. One USPS label might be native 4x6. A marketplace export might be Letter. A returns label might place the label in a different corner. If you repeat the crop, resize and print-dialog check most days, the bottleneck is not another printer. It is the PDF workflow.
For one-off files, use the free converter. For recurring PDF cleanup and folder-to-printer output, compare the time cost with LabelChop pricing.
Related USPS and 4x6 guides
Keep the printer decision connected to the workflow you need to run tomorrow.
- USPS label printer setup, for the full 4x6 printer setup and troubleshooting sequence.
- USPS Click-N-Ship 4x6 workflow, for Click-N-Ship-specific PDF checks.
- USPS scale and label printer setup, for weight, service and PDF checks together.
- Zebra USPS 4x6 setup, for ZD421, ZD220 and GK420d driver, calibration and PDF-size checks.
- 4x6 shipping labels print settings, for paper size, scale, margins and orientation.
- A4 to 4x6 shipping label converter, for one-off awkward PDFs before printing.
The best USPS label printer is the one that makes your shipping bench boring. Pick hardware that handles 4x6 labels cleanly, then make sure the PDF, driver, scale and saved print preset stay boring too.