

A MUNBYN printer can handle USPS 4x6 shipping labels, but only when the driver, label stock and PDF are all speaking the same language.
The usual failure is not dramatic. The printer feeds. Something prints. But the USPS label is tiny, clipped, sideways, pale or blank. Then the seller changes five settings at once and burns half a stack of labels before finding the real issue.
This checklist is for MUNBYN owners printing USPS, Click-N-Ship, eBay, Etsy, Shopify or marketplace shipping-label PDFs on 4x6 direct thermal stock. It keeps the printer setup separate from the PDF workflow problem. LabelChop helps with compatible USPS and marketplace PDF workflows, but it is not an official USPS or MUNBYN integration.
In this article:
- The quick MUNBYN USPS setup checklist
- Install the MUNBYN driver and start with USB
- Set the paper size to 4x6 or 100x150mm
- Check whether the USPS PDF is 4x6 or Letter
- Print one USPS label at actual size
- Fix common MUNBYN USPS label problems
- When LabelChop helps
- Related MUNBYN and USPS guides
The quick MUNBYN USPS setup checklist
Use this order before printing a paid postage batch.
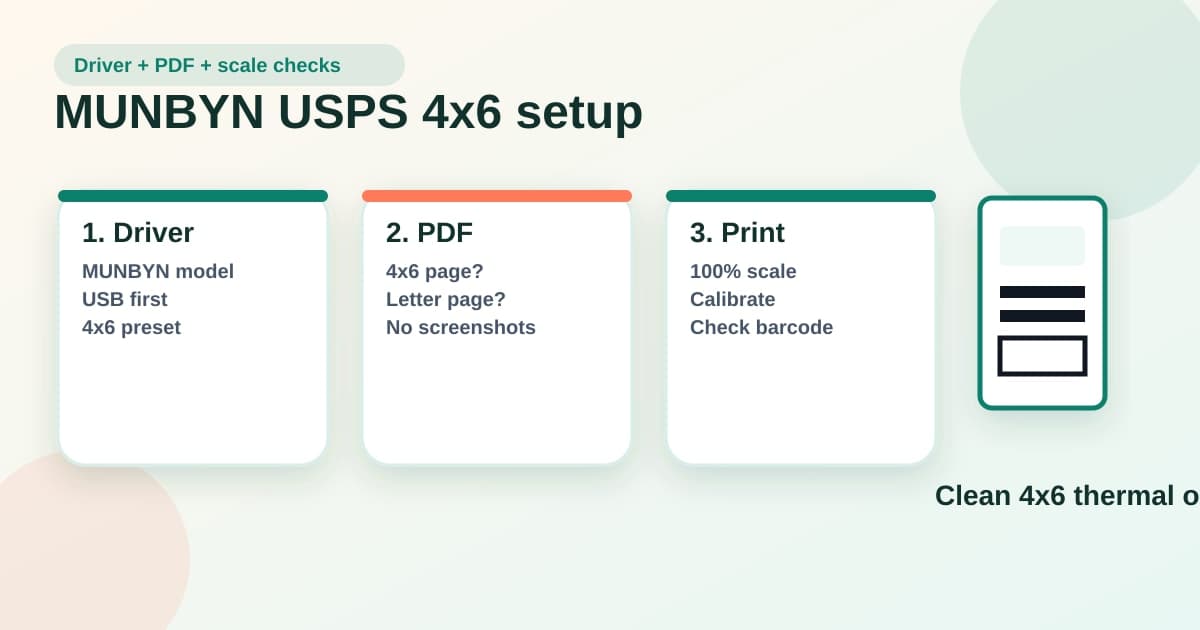
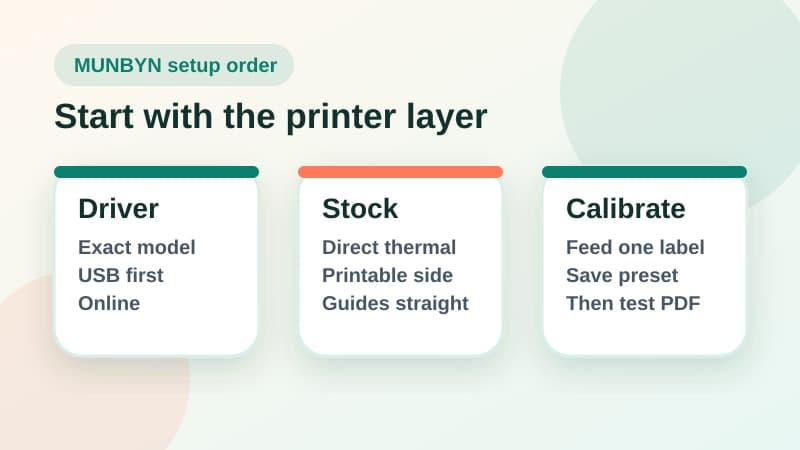
- Install the current MUNBYN driver or app for your exact model.
- Connect by USB for the first setup, even if your model also supports Bluetooth or Wi-Fi.
- Load 4x6, 100x150mm or matching direct thermal label stock.
- Confirm the printable side faces the printhead.
- Set the printer paper size to match the physical label stock.
- Calibrate the printer after loading the roll or fanfold stack.
- Download the USPS, Click-N-Ship or marketplace label PDF.
- Check whether the PDF page is already 4x6 or still Letter.
- Print a true 4x6 PDF at actual size or 100 percent.
- Crop or convert a Letter PDF before sending it to the MUNBYN.
- Print one test label and inspect the barcode, margins and feed position.
That order stops you blaming the wrong layer. USPS documents the postage and label-purchase side through online shipping and Click-N-Ship. Your MUNBYN still only receives a page size, a scale setting and a label-feed instruction.
If you want the broader USPS version first, start with the USPS label printer setup guide. If you are choosing hardware, the best USPS label printer workflow checklist explains what to test before keeping a printer. Dymo owners should use the Dymo 4XL USPS setup checklist, while Zebra owners should use the Zebra USPS 4x6 setup checklist.
Install the MUNBYN driver and start with USB
Many MUNBYN models can print through more than one connection method. That is convenient after setup, but it makes the first test easier to confuse.
For the first USPS label test, use USB if your model supports it. Install the MUNBYN driver or app for the exact printer model, then confirm the printer name appears correctly in your operating-system printer list. MUNBYN's public download page currently redirects to its print-app page, so check that the driver or app you choose matches the model printed on your device or box.
After installation, check these basics.
- The selected printer is your MUNBYN, not an office printer or PDF printer.
- The printer is online and not paused.
- The paper size list includes 4 in x 6 in, 100x150mm or a custom size you can save.
- The label stock is direct thermal, not ordinary paper or thermal-transfer stock that needs a ribbon.
- The printable side faces the printhead.
- The label guides hold the stock straight without squeezing it.
- The feed button advances one label cleanly after calibration.
Wireless setup can come later. Once the USB print is clean, you can test Bluetooth or Wi-Fi. If the wireless path fails but USB works, the PDF and paper size may be fine. The problem may be the connection method, app permissions or the printer selected by the phone or laptop.
Set the paper size to 4x6 or 100x150mm
For USPS 4x6 labels, the MUNBYN driver should match the stock in the printer.
Do not choose Letter just because the USPS PDF downloaded as Letter. Do not choose A4 because your last print job went to an office printer. Do not leave an old custom size from product labels or barcodes. The driver paper size should describe the physical label, not the carrier page.
Use this baseline.
| Setting | Start with | Why it matters | |---|---|---| | Printer | Your exact MUNBYN model | Avoids sending postage to the wrong device | | Stock | 4x6 or 100x150mm direct thermal labels | Matches common USPS shipping-label output | | Paper size | 4 in x 6 in, 100x150mm or matching custom size | Stops shrinking, clipping and feed drift | | Scale | Actual size or 100 percent | Keeps barcode width and quiet space intact | | Speed and darkness | Medium speed, readable dark output | Helps barcode sharpness without overburning | | Calibration | Run after stock changes | Teaches the printer where each label starts |
The small difference between 4x6 inches and 100x150mm is usually manageable, but it can show up when the file has tight margins. If your stock is sold as 100x150mm and the driver supports that size, use it. If the driver only offers inches, use 4 in x 6 in and print one test before a batch.
The 4x6 shipping labels print settings guide explains the size names in more detail, including 4x6, 100x150mm, 102x152mm, Letter, A4 and A6.
Check whether the USPS PDF is 4x6 or Letter
This is the step that saves the most wasted labels.
Open the downloaded USPS or marketplace label before printing. Ask whether the whole PDF page is the shipping label, or whether the label sits inside a larger Letter page.
A true 4x6 PDF should print cleanly when the MUNBYN driver is also set to 4x6. The preview should show one label per page. The barcode should have white quiet space around it. The address and tracking details should sit inside the label border.
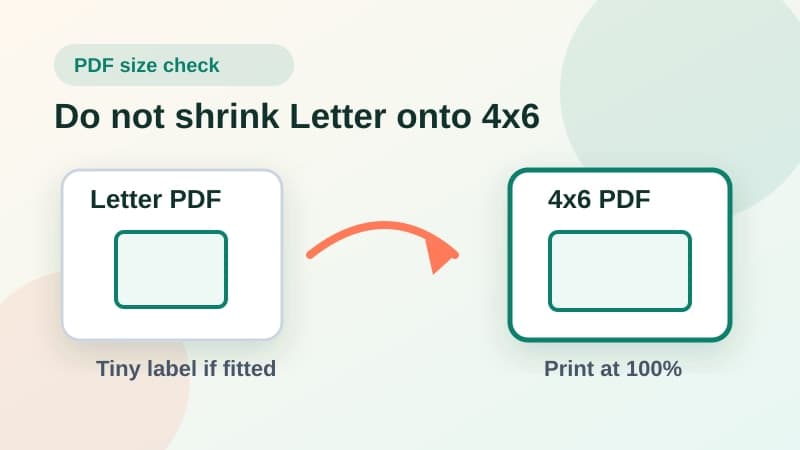
A Letter PDF is different. It may be valid for an office printer, but it is not ready to send straight to a 4x6 thermal printer. If the print dialog shrinks the whole Letter page onto one MUNBYN label, the USPS label itself becomes too small.
USPS has a public Click-N-Ship basics help page for the account and label-purchase flow. After the label exists, inspect the downloaded PDF. That file decides whether your MUNBYN can print directly or whether you need a crop or conversion step.
If the file is Letter, crop or convert the label area before printing. For a one-off PDF, use the free A4 to 4x6 shipping label converter. If you are not sure what size the file is, run it through the shipping label size checker before changing printer settings again.
Print one USPS label at actual size
For a correct 4x6 PDF, the first test should use actual size, 100 percent scale or no scaling. The wording changes by app, but the goal is simple: one PDF page maps to one physical 4x6 label.
Turn off settings like these for the first test.
- Fit to page
- Shrink oversized pages
- Scale to printable area
- Browser headers and footers
- Default browser margins
- Automatic rotation if the preview rotates the label incorrectly
Print one label, not the whole batch. Check the barcode first. It should be sharp, complete and not pushed against an edge. Then check the address, sender details, label feed position and orientation.
If a neutral test label fails, fix the MUNBYN layer first: roll direction, direct thermal stock, paper size, driver, calibration, darkness, speed or connection method. If the neutral test label works but USPS or marketplace PDFs fail, fix the PDF layer: page size, crop, orientation or scale.
For a safe test file before printing paid postage, use the thermal printer test label PDF or the 4x6 label test print troubleshooting guide.
Fix common MUNBYN USPS label problems
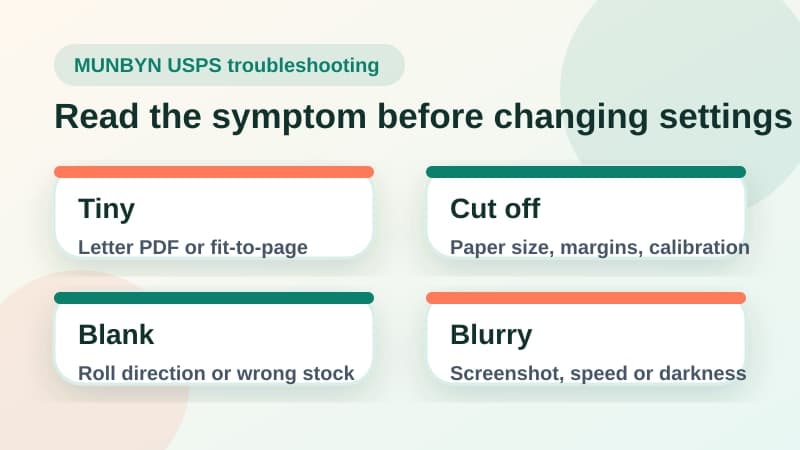
Use the symptom to decide the next check. Randomly changing size, scale, orientation, speed and darkness together makes every new test harder to read.
The USPS label prints too small
This is usually a Letter PDF or fit-to-page scaling issue.
Open the PDF. If the page is Letter, crop or convert the postage label area before printing on the MUNBYN. If the PDF is already 4x6, turn off fit-to-page settings and print at 100 percent.
For a symptom-first walkthrough, use the shipping label printing too small guide or the live too-small diagnostic tool.
The USPS label prints too big
Oversized MUNBYN output usually points to a saved custom paper size, a scale value above 100 percent or a driver preset that does not match the loaded 4x6 or 100x150mm stock. Fix the paper size first, then print one label at actual size.
Use the shipping label printing too big checklist if the barcode is enlarged, the address is cropped or one USPS label spans more than one physical label.
The barcode is cut off
A cut-off barcode usually points to paper size, orientation, margins or calibration.
Set the MUNBYN paper size back to the physical stock. Check the preview. Calibrate the printer. Print one test. If the preview is clean but the physical output clips at the same edge, check roll guides, feed alignment and any driver offset settings before changing the PDF.
The shipping label cut-off troubleshooting guide goes deeper on edge clipping. The cut-off shipping label diagnostic is faster if you just want the next setting to check.
The label prints sideways
Sideways labels usually come from size naming and feed direction.
Some drivers describe a label as 4x6. Others treat the first number as width. Some apps rotate the preview to fit the screen. Trust the print preview and one real test more than the label-name wording.
If the PDF itself is rotated, fix the file or orientation before printing. If the PDF looks correct and the MUNBYN rotates it, change driver orientation and test again.
Blank labels feed through
Blank labels are usually a stock, roll direction or calibration problem.
Check that the labels are direct thermal and loaded with the printable side facing the printhead. Run the printer's self-test or feed/calibration routine. If the self-test is blank too, fix the printer or stock layer before changing USPS settings.
Use the thermal printer blank labels checklist if every file feeds blank stock.
The barcode looks blurry or pale
Avoid screenshots when possible.
A screenshot turns a sharp PDF into an image, then the print dialog may scale it again. That can soften barcode edges even when the MUNBYN printer is working. If the PDF page size is wrong, crop or convert the original PDF rather than pasting a screenshot into a document.
If the original file is clean but the printed barcode is pale, slow the print speed, increase darkness slightly, clean the printhead and test a better direct thermal label roll.
The blurry shipping label barcode guide covers DPI expectations, speed, darkness, dirty printheads and screenshot quality loss.
When LabelChop helps
LabelChop is not a MUNBYN driver, postage-purchase tool or official integration with USPS, MUNBYN, eBay, Shopify, Etsy or any carrier.
It sits before printing. LabelChop watches a folder, detects compatible shipping-label PDFs, crops or resizes awkward pages to 4x6 or 100x150mm output, then prints or saves the cleaned file for your normal thermal-printer workflow.
That helps when the MUNBYN itself is fine but the files keep changing. One USPS label may be native 4x6. A marketplace export may be Letter. A returns label may place the label in another corner of the page. If you repeat the crop, resize and print-dialog check most shipping days, the bottleneck is the PDF workflow.
For one-off files, use the free converter. For recurring MUNBYN output, compare the daily manual time cost with LabelChop pricing.
Related MUNBYN and USPS guides
Keep this MUNBYN setup connected to the rest of the workflow.
- USPS label printer setup, for the broader USPS 4x6 workflow.
- USPS Click-N-Ship 4x6 workflow, for downloaded USPS PDF checks.
- Best USPS label printer workflow checklist, for hardware criteria before buying.
- Dymo 4XL USPS setup, for the Dymo-specific version of this workflow.
- Zebra USPS 4x6 setup, for ZD421, ZD220 and GK420d checks.
- MUNBYN thermal printer Australia guide, for the MyPost Business version of the MUNBYN setup problem.
- A4 to 4x6 shipping label converter, for awkward PDFs before printing.
Once the MUNBYN driver, label stock, PDF page and scale agree, the printer should become boring. Save the working preset, test one label after any workflow change and stop resizing USPS labels by screenshot.